This morning I again spent some time trying to develop my visionOS design skills. I find the best way for this is to just get started with development and then learn along the way.
Today I decided it would be interesting to work through updating the weather app from Widgetsmith for the Vision Pro.
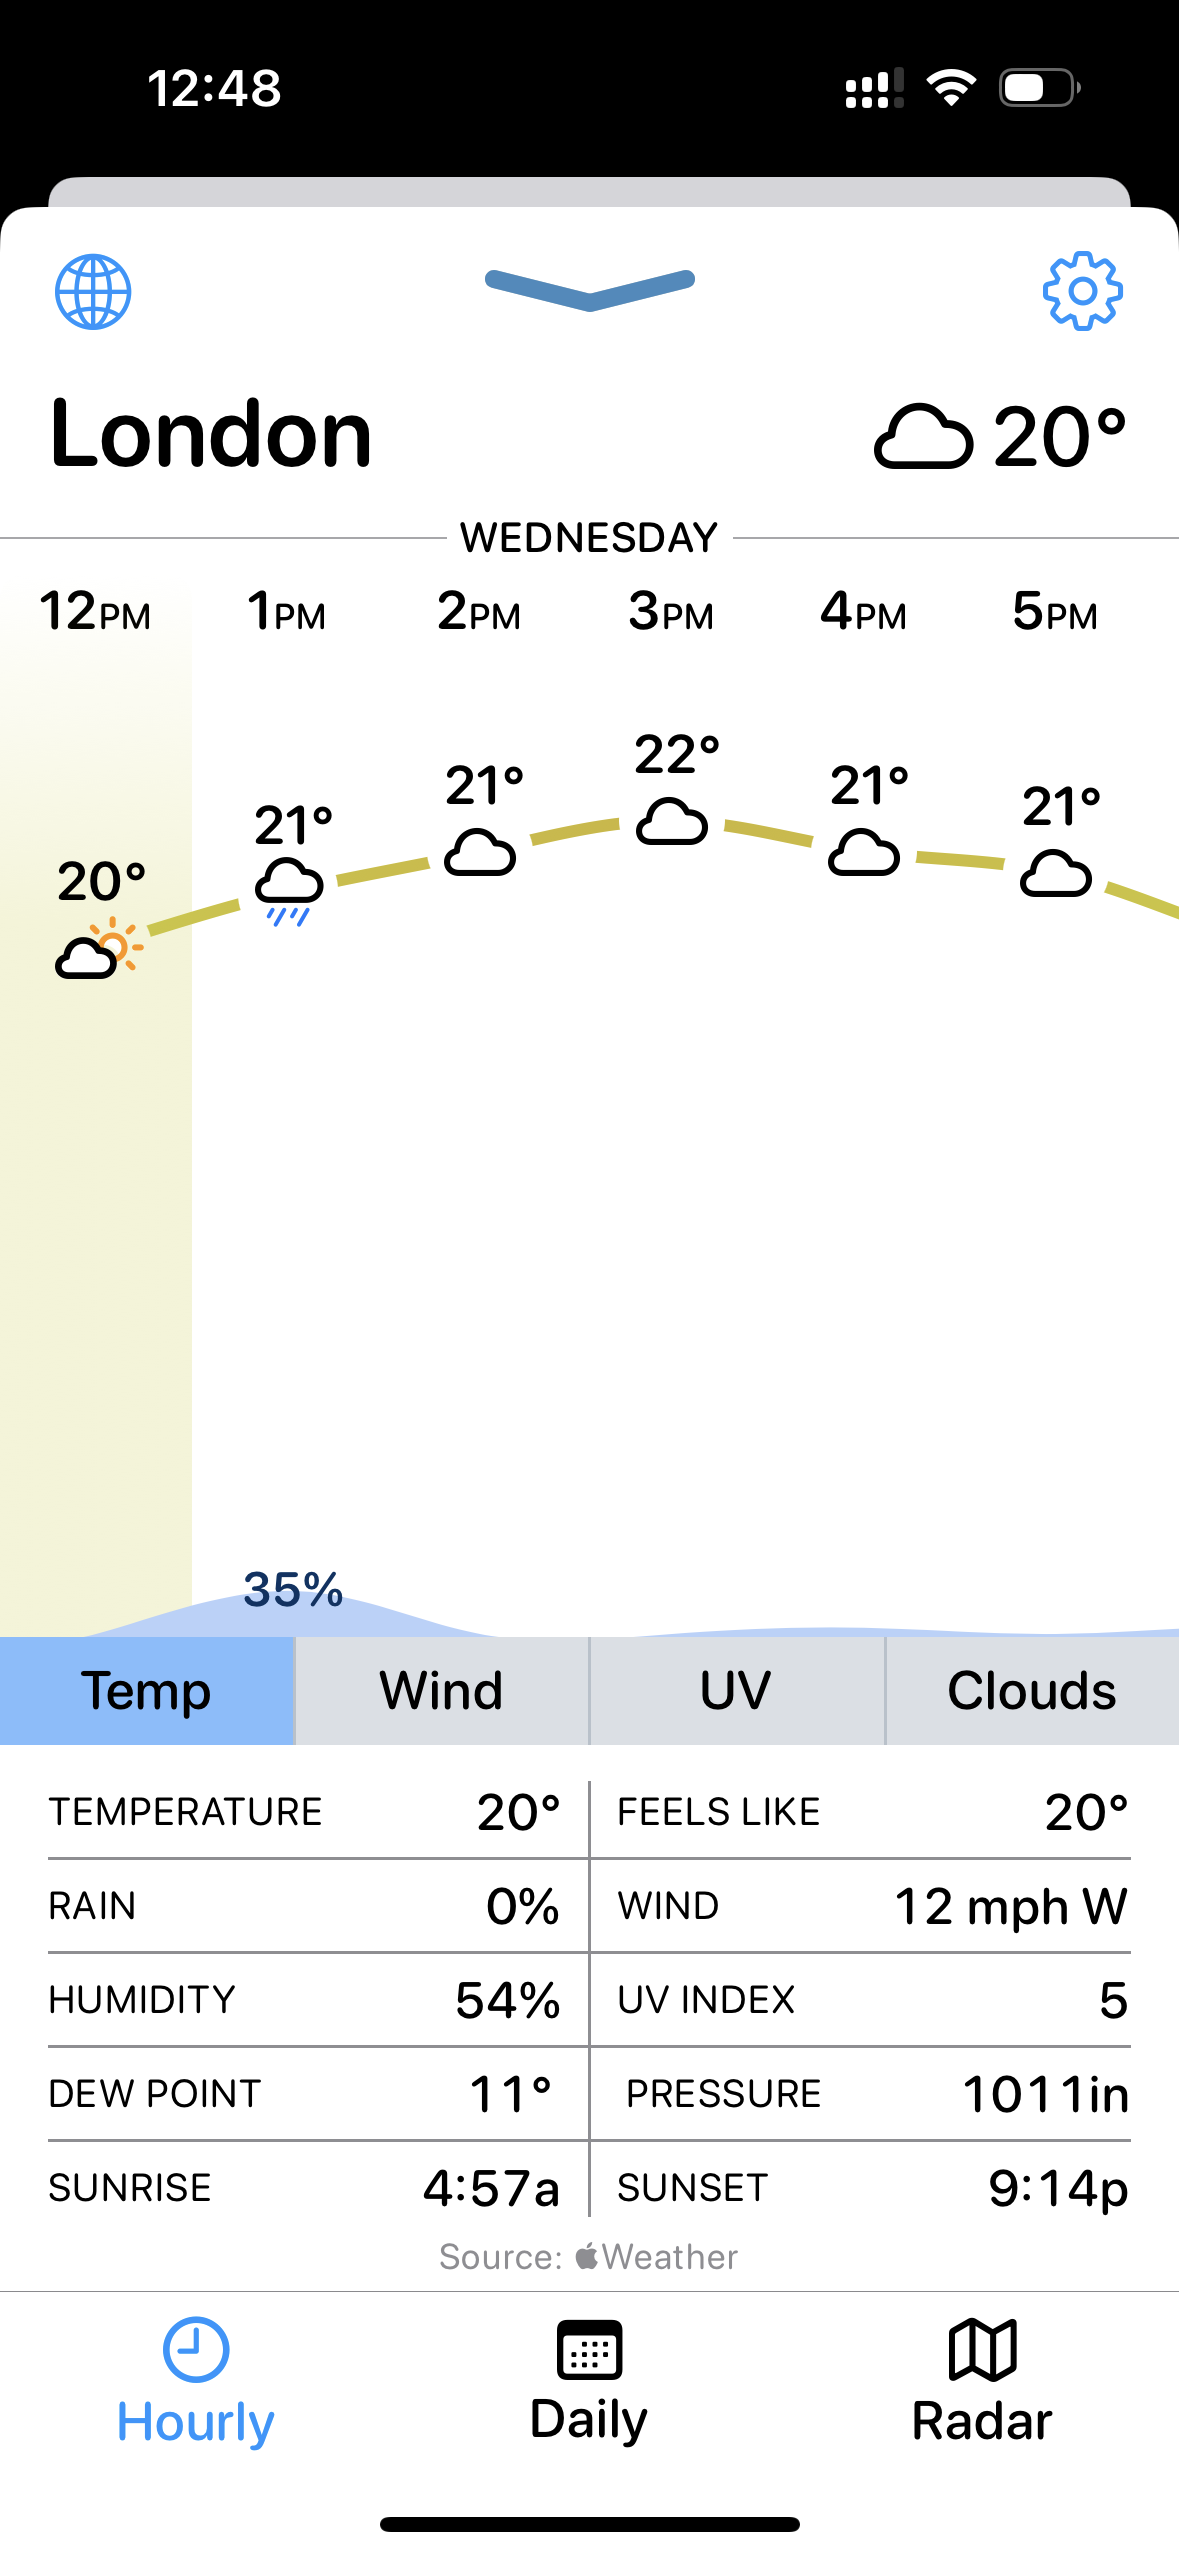
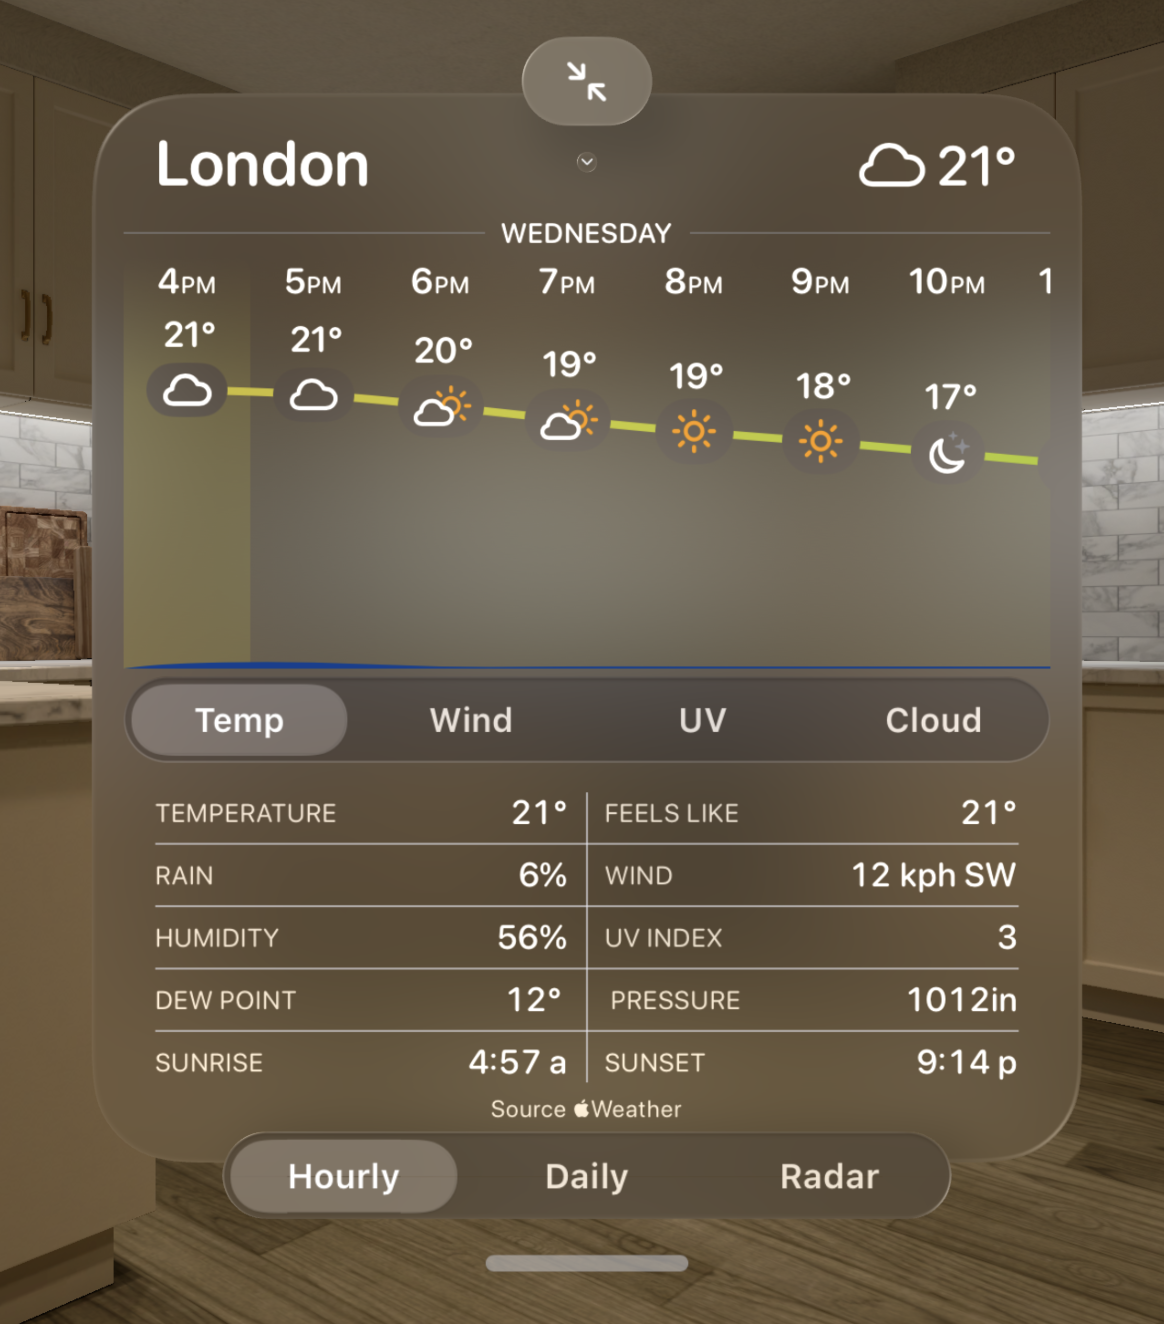
To start with I just took the code unmodified and saw how it would run.
That’s actually better than I would have feared it would be. There is no background and the Button elements which make up the graph view are weird but overall the structure actually lends itself pretty well here.
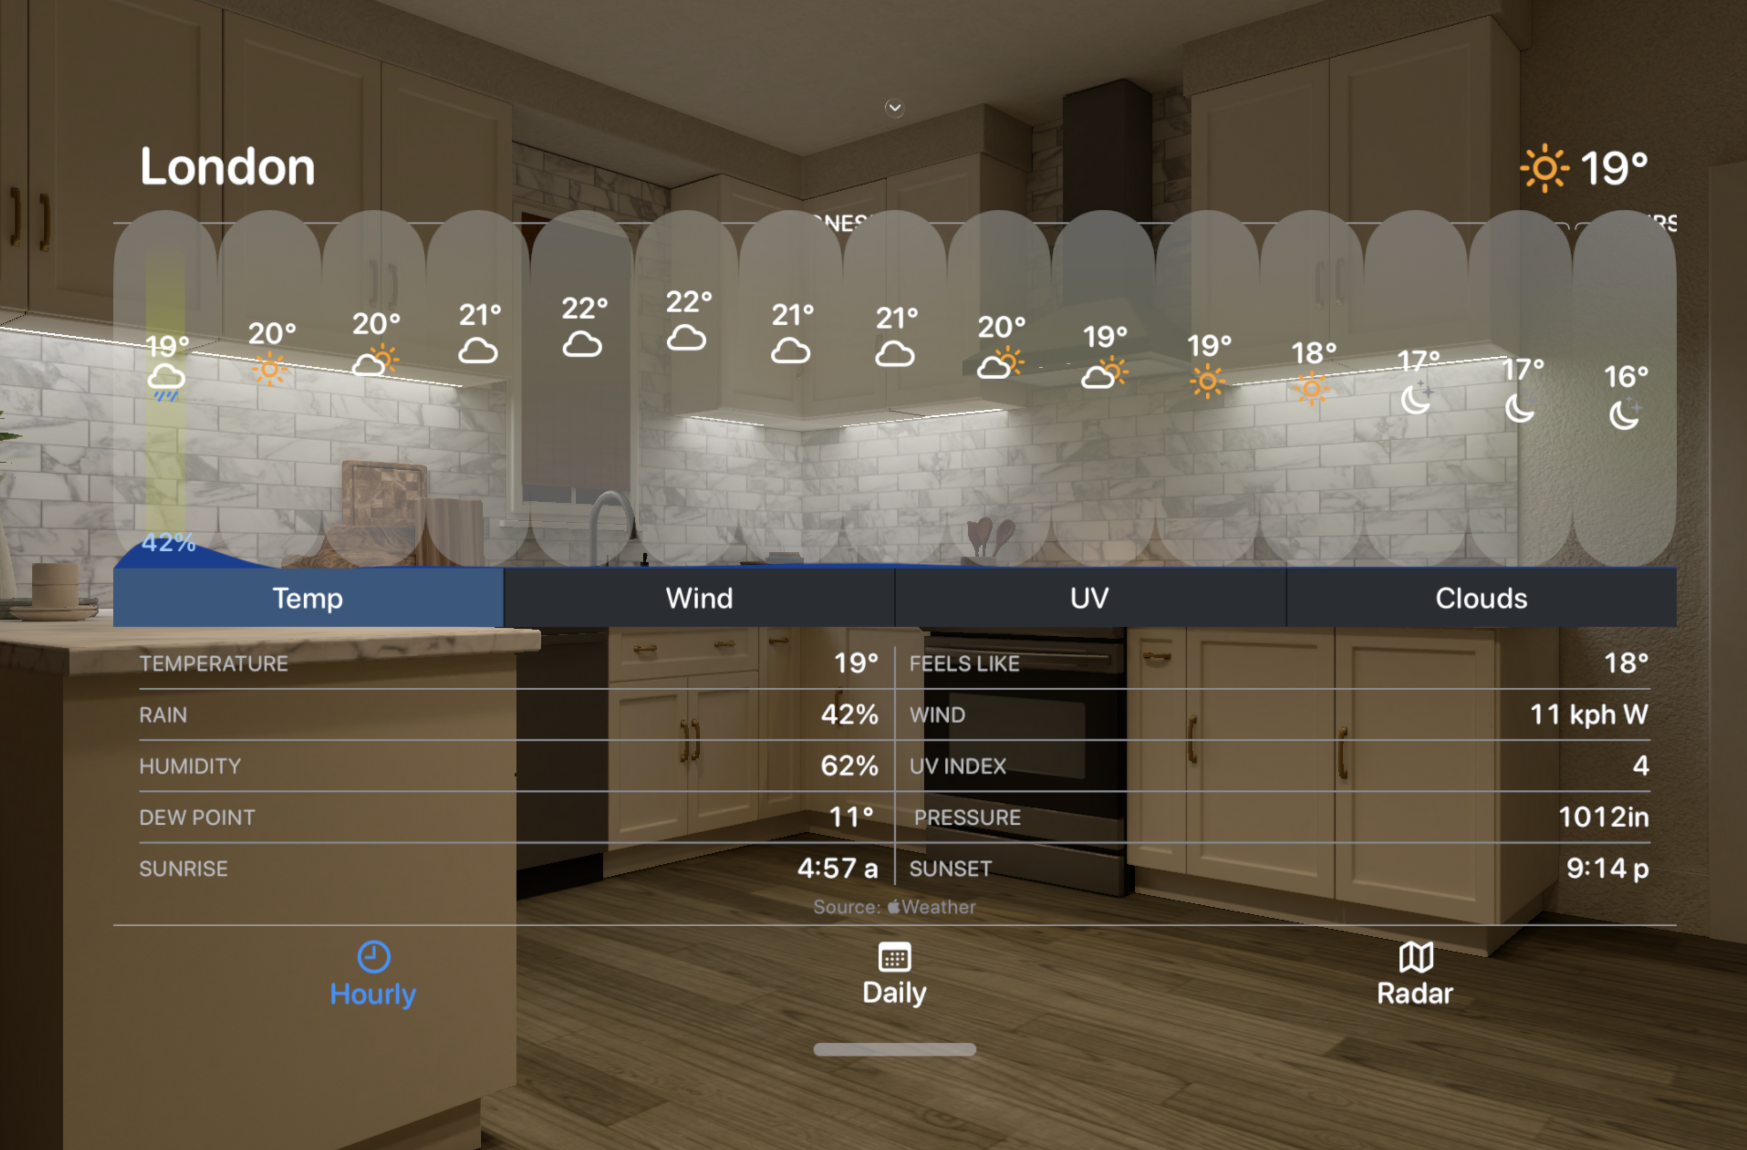
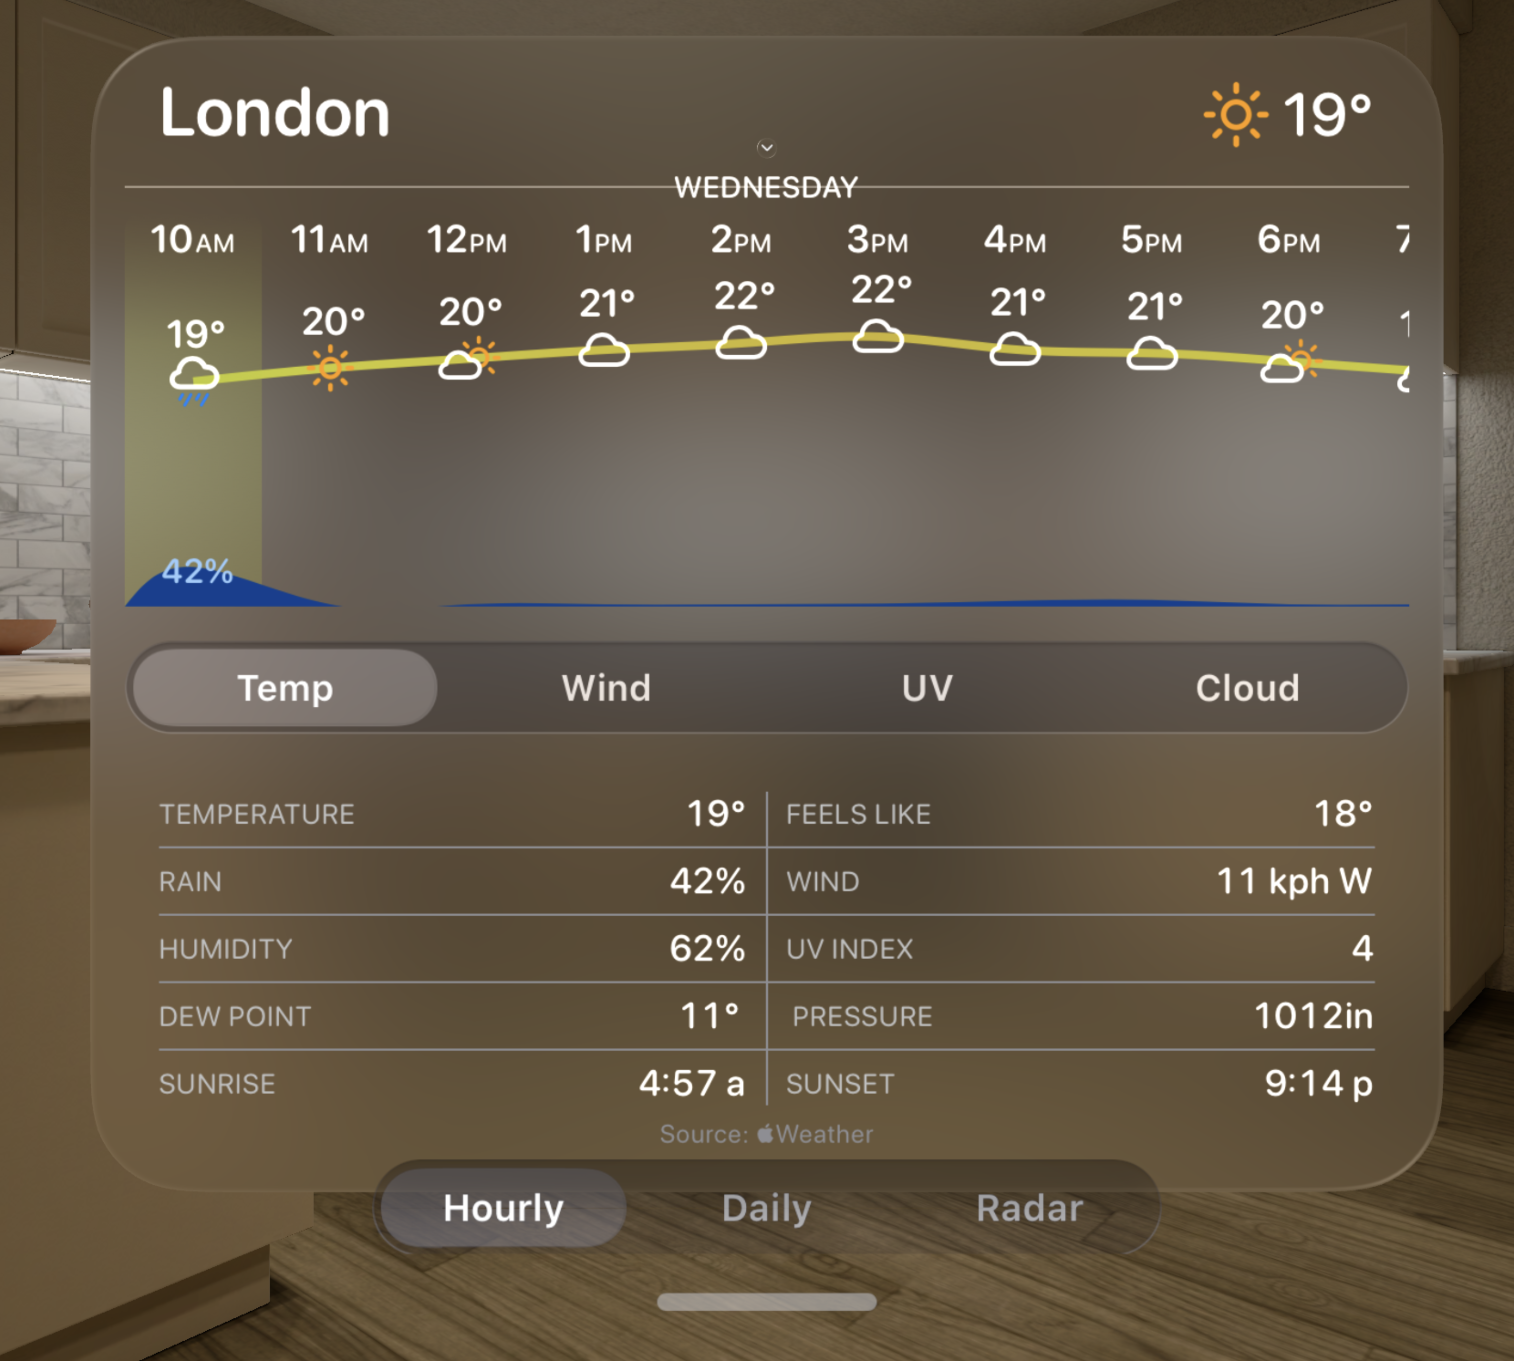
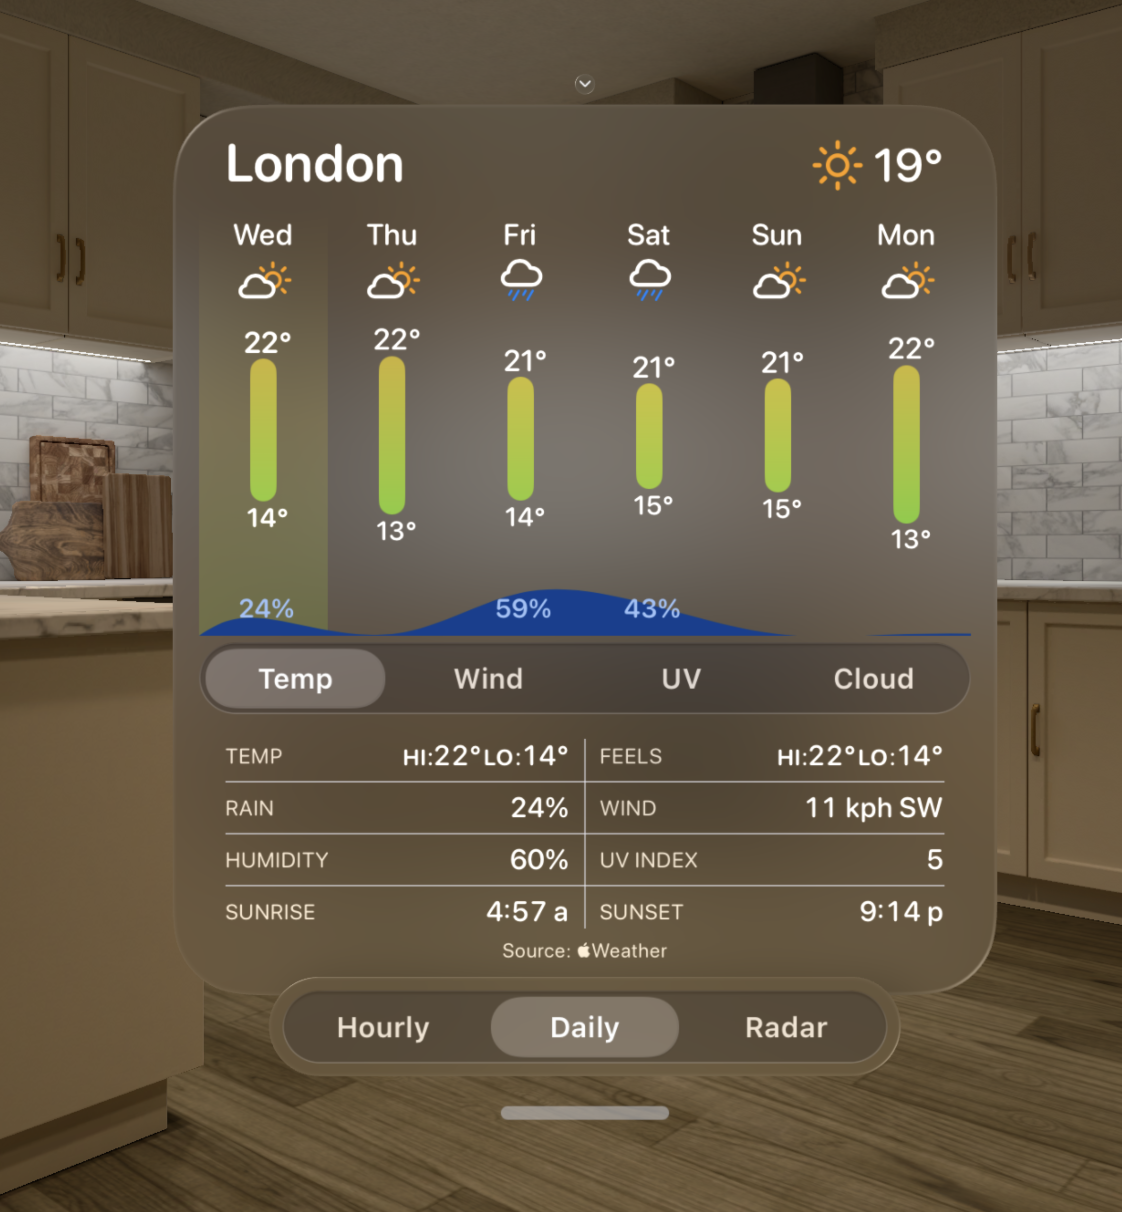
So the first thing to do is to give it a glassy background and then move the tab based approach I had before into a lower ornament.
The iOS version didn’t really constrain the width of the display because this isn’t necessary on a smaller screen, but now since the whole world is my canvas I need to let the system know how wide a display is useful.
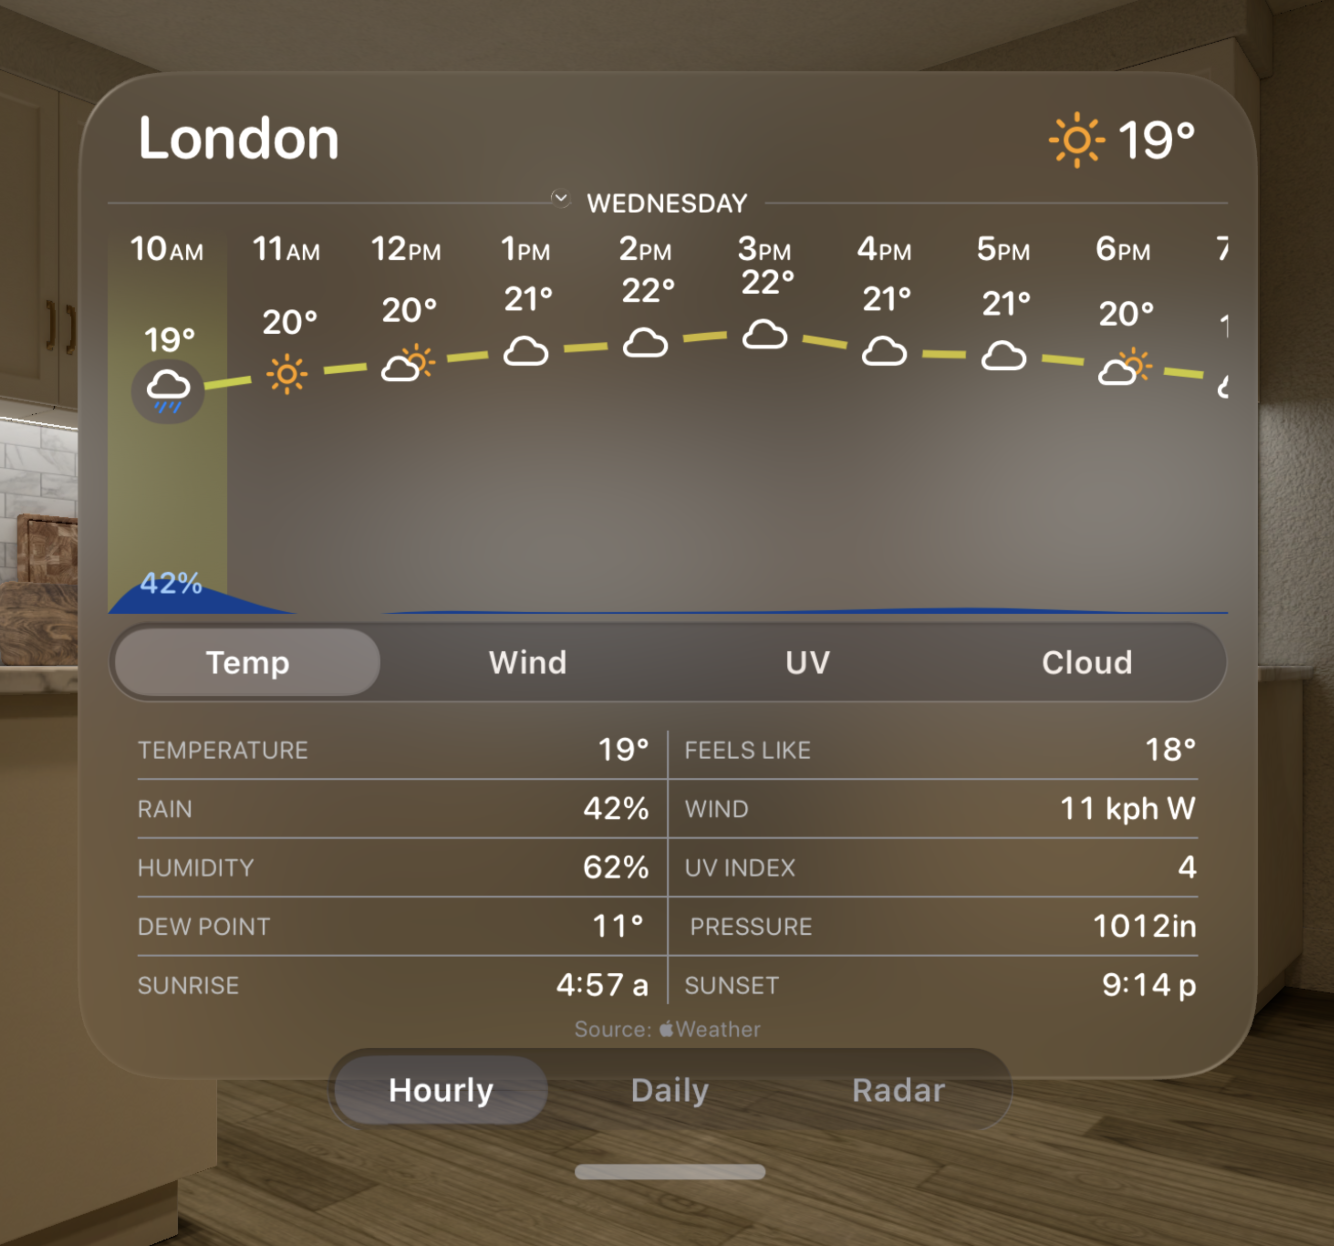
Next I need to do something about those buttons. Because you can tap on each hour of the day to see a detailed view of what to expect then I have a horizontal array of buttons here. But for visionOS I need to hide them from view, or at least make them less visually loud. I’ll still want to keep the hover/glow effect active but when at rest the view should be simpler.
This now illuminates an issue which I don’t run into on iOS but is a big problem on visionOS. In iOS whenever I want to cut out a hole in a view so that a lower view is masked out I can just fill its background with the background color of the current display mode (white or black). This isn’t actually doing the correct layer masking but since the colors are opaque the result is identical.
On visionOS the background is transparent so this doesn’t work. Instead I need to actually do the correct masking of the view hierarchy. This isn’t too difficult in SwiftUI.
If I use a .blendMode of .destinationOut on my backing view then I get the correct transparent cut outs.
Next is a relatively subtle change, but the secondary labels in the iOS version used the system Color.gray as their tint. This doesn’t look nearly so good on visionOS, so instead I need to swap over to using the Color.secondary.
This gives them a nice semi-translucent look which picks up on the colors of their surroundings.
Next I need to do something about that bottom picker view. It is currently completely translucent which makes it super hard to read. Let’s fix that by giving it a proper glassy background.
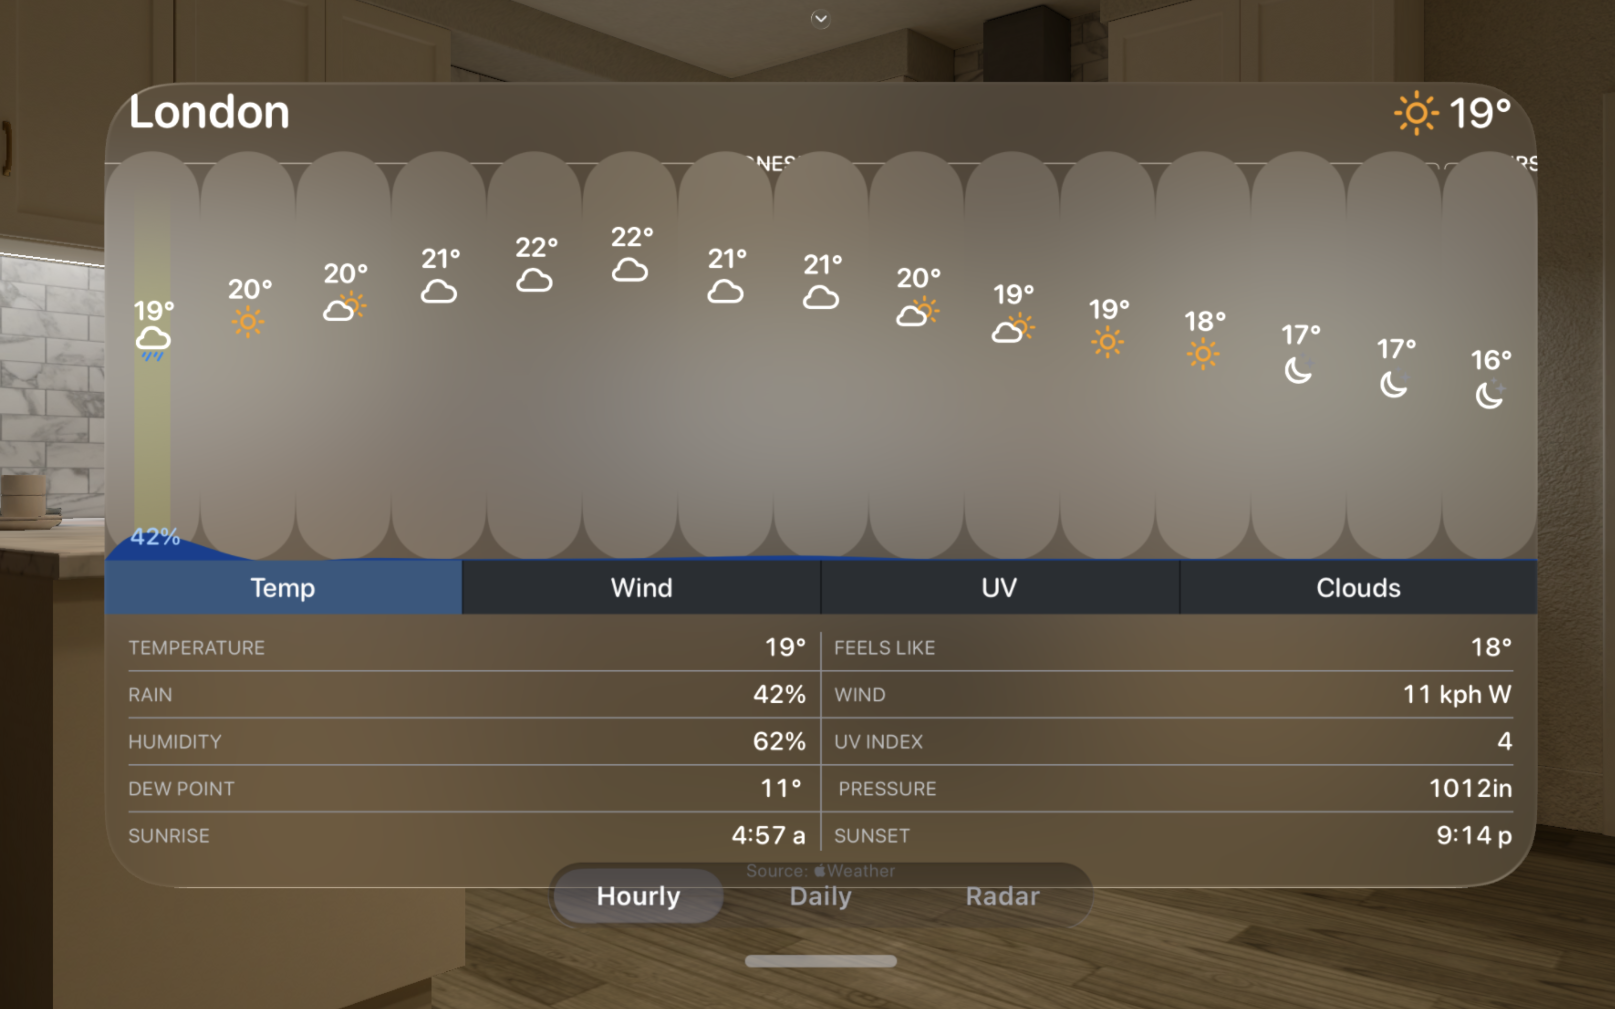
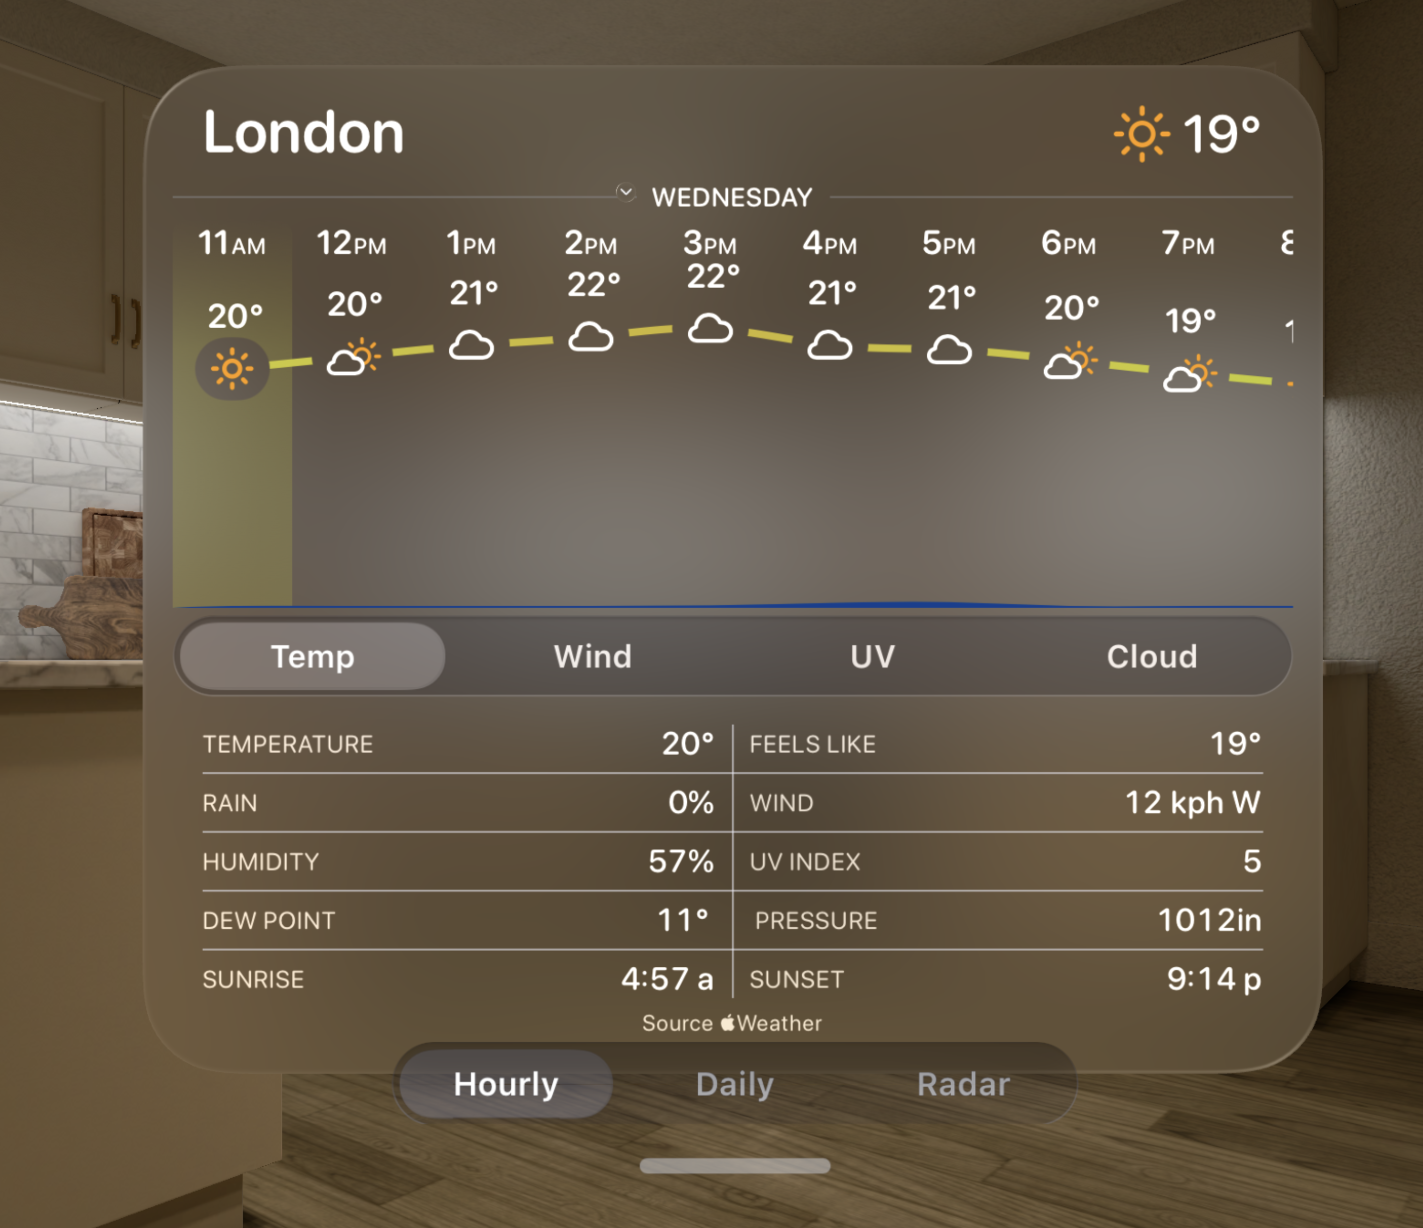
This process is then repeated for the Daily weather view.
The radar map view required a bit more help.

It was created for a rectangular screen so it needs to be masked off at the corners to fit better in this new rounded world.
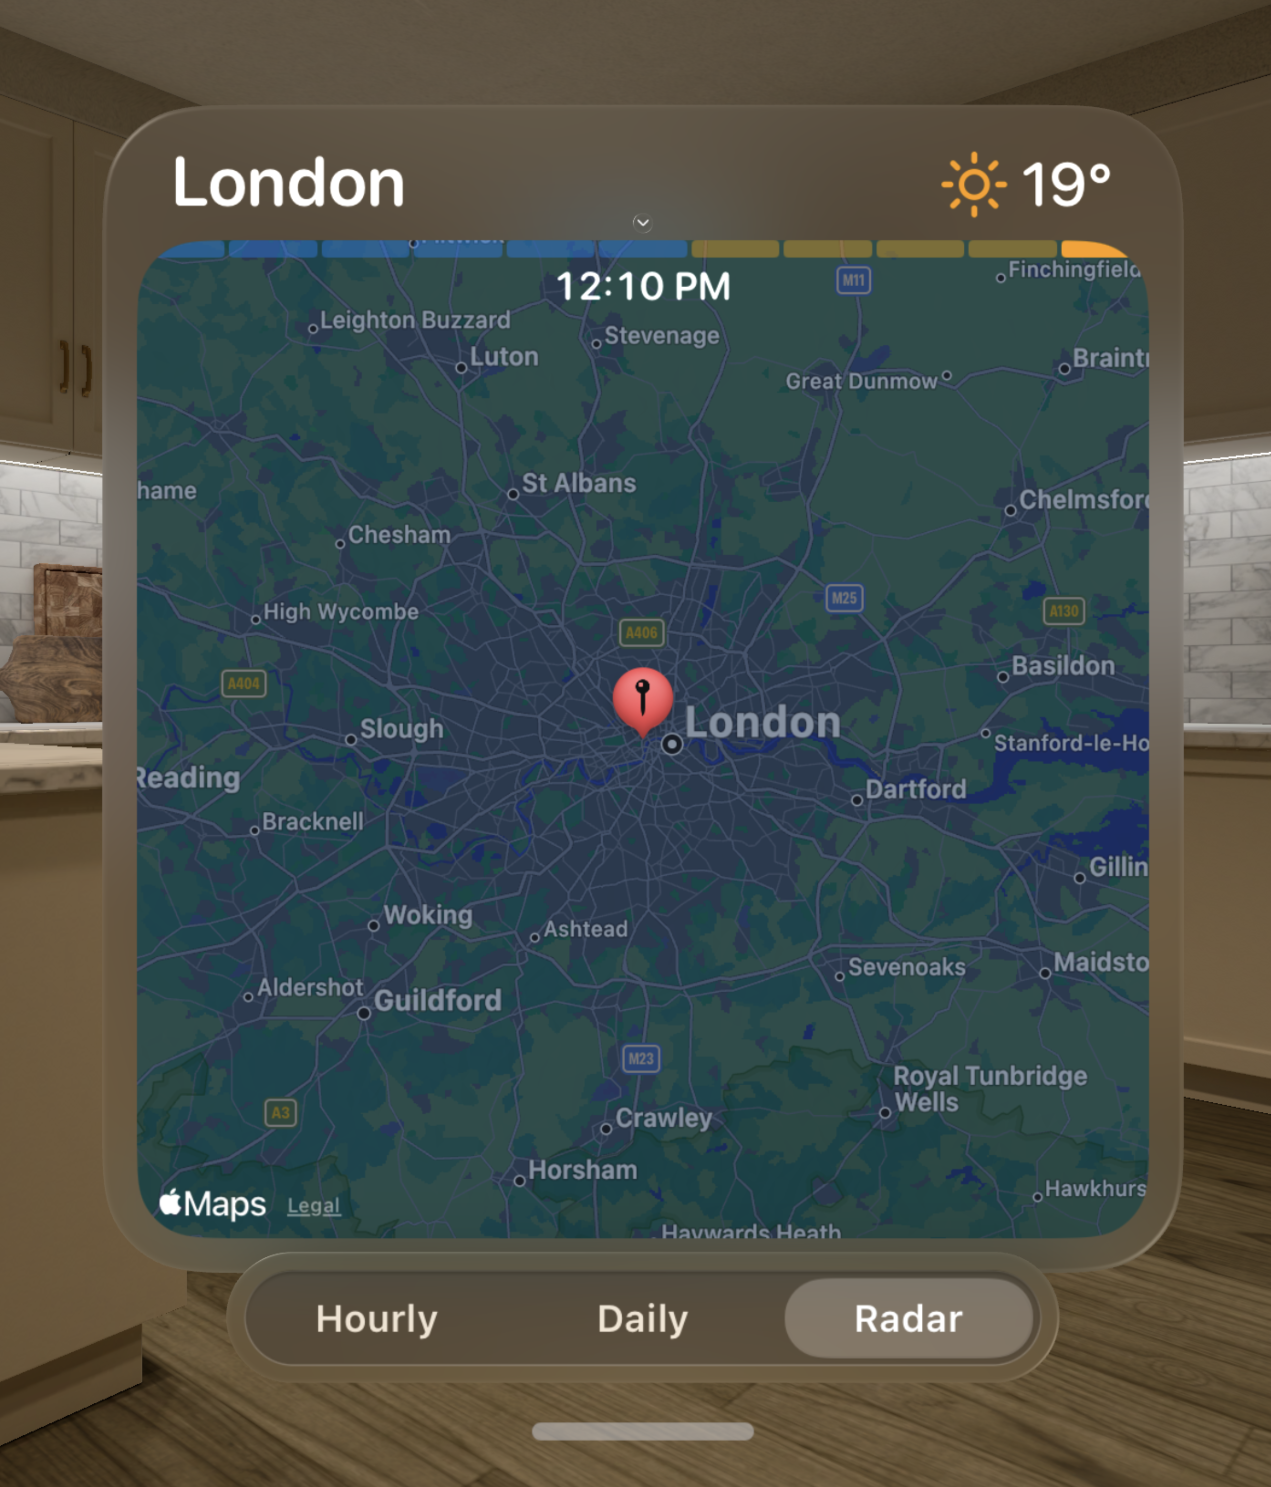
That clips off the timeline bar, so I need to now inset that from the top of the view.
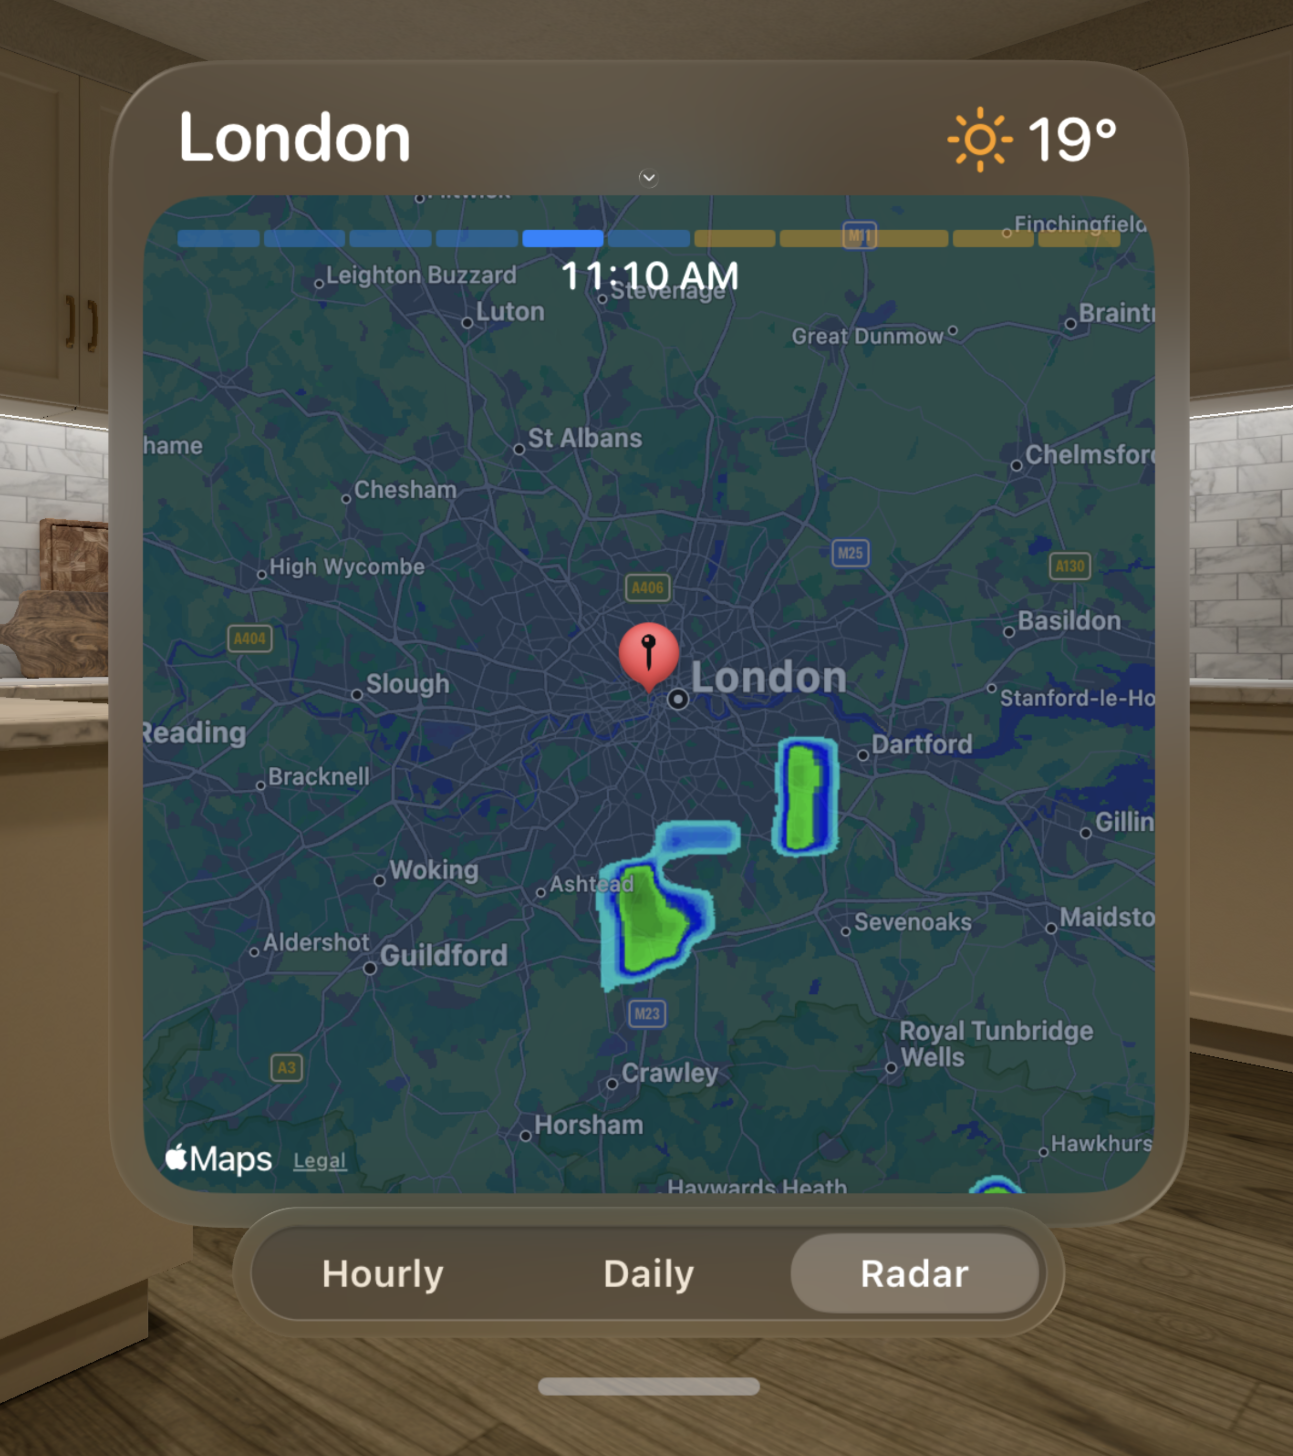
I find the way the timeline capsules are rendered to be a bit hard to see in the ‘dark’ mode of the vision UI so instead let’s make them more solid and clear what is going on.
Much better.
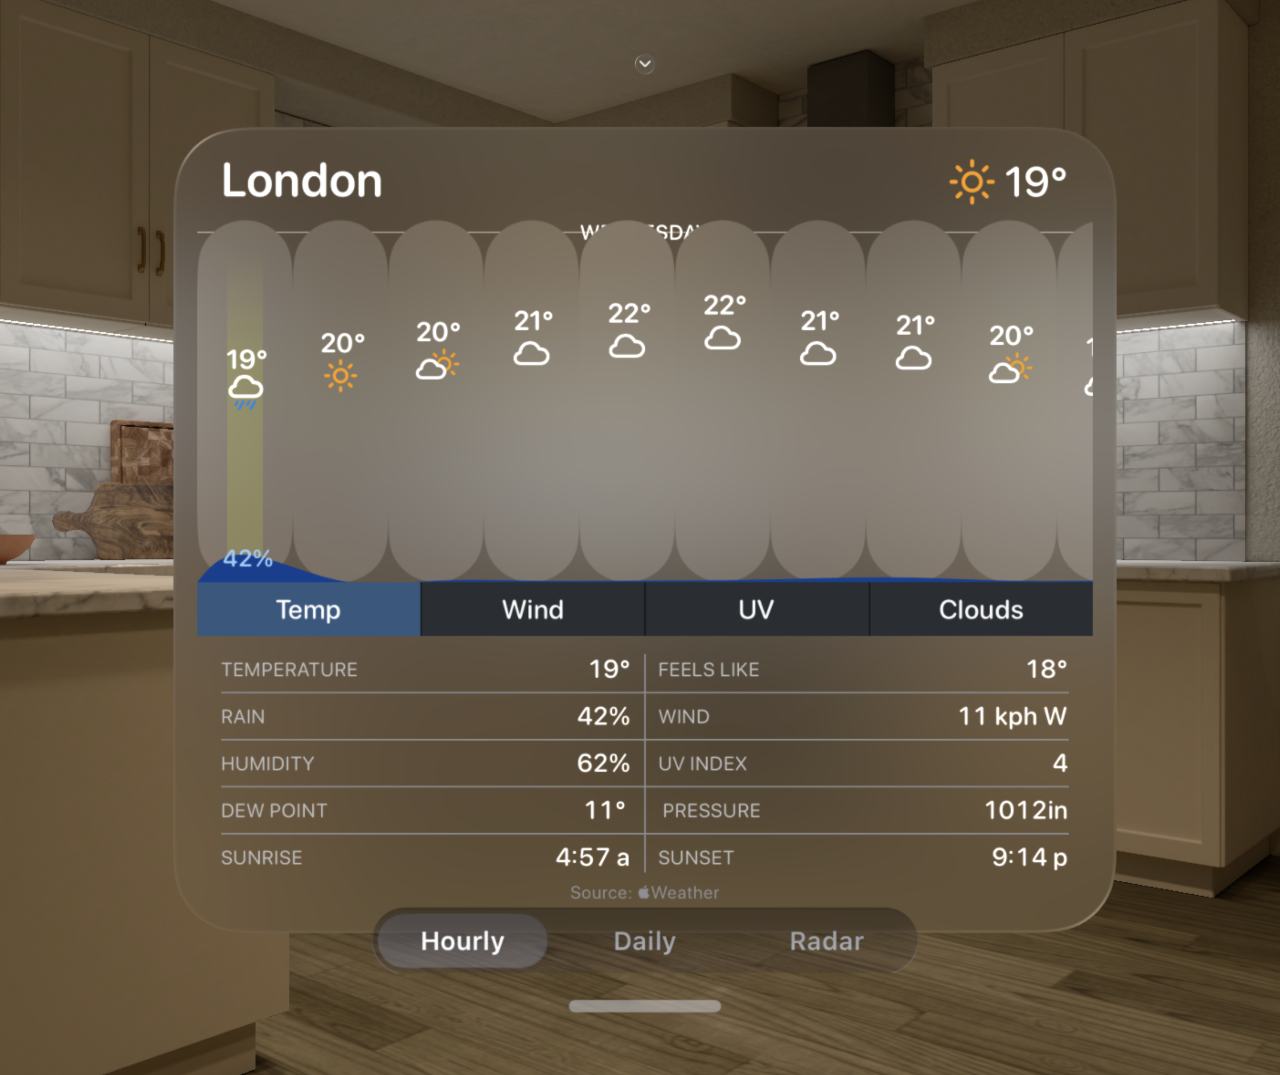
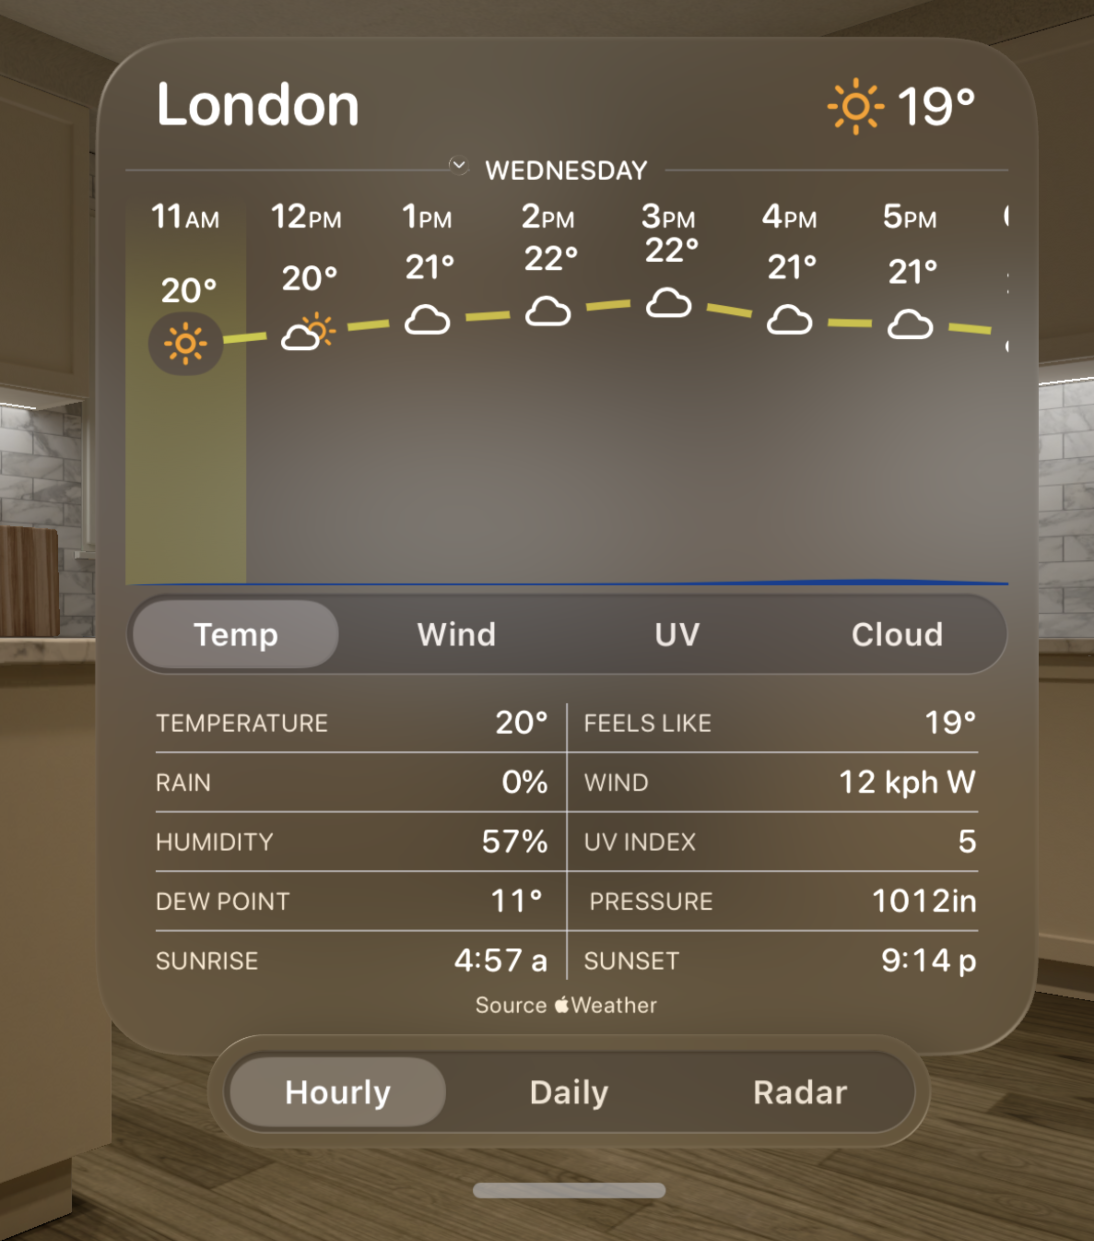
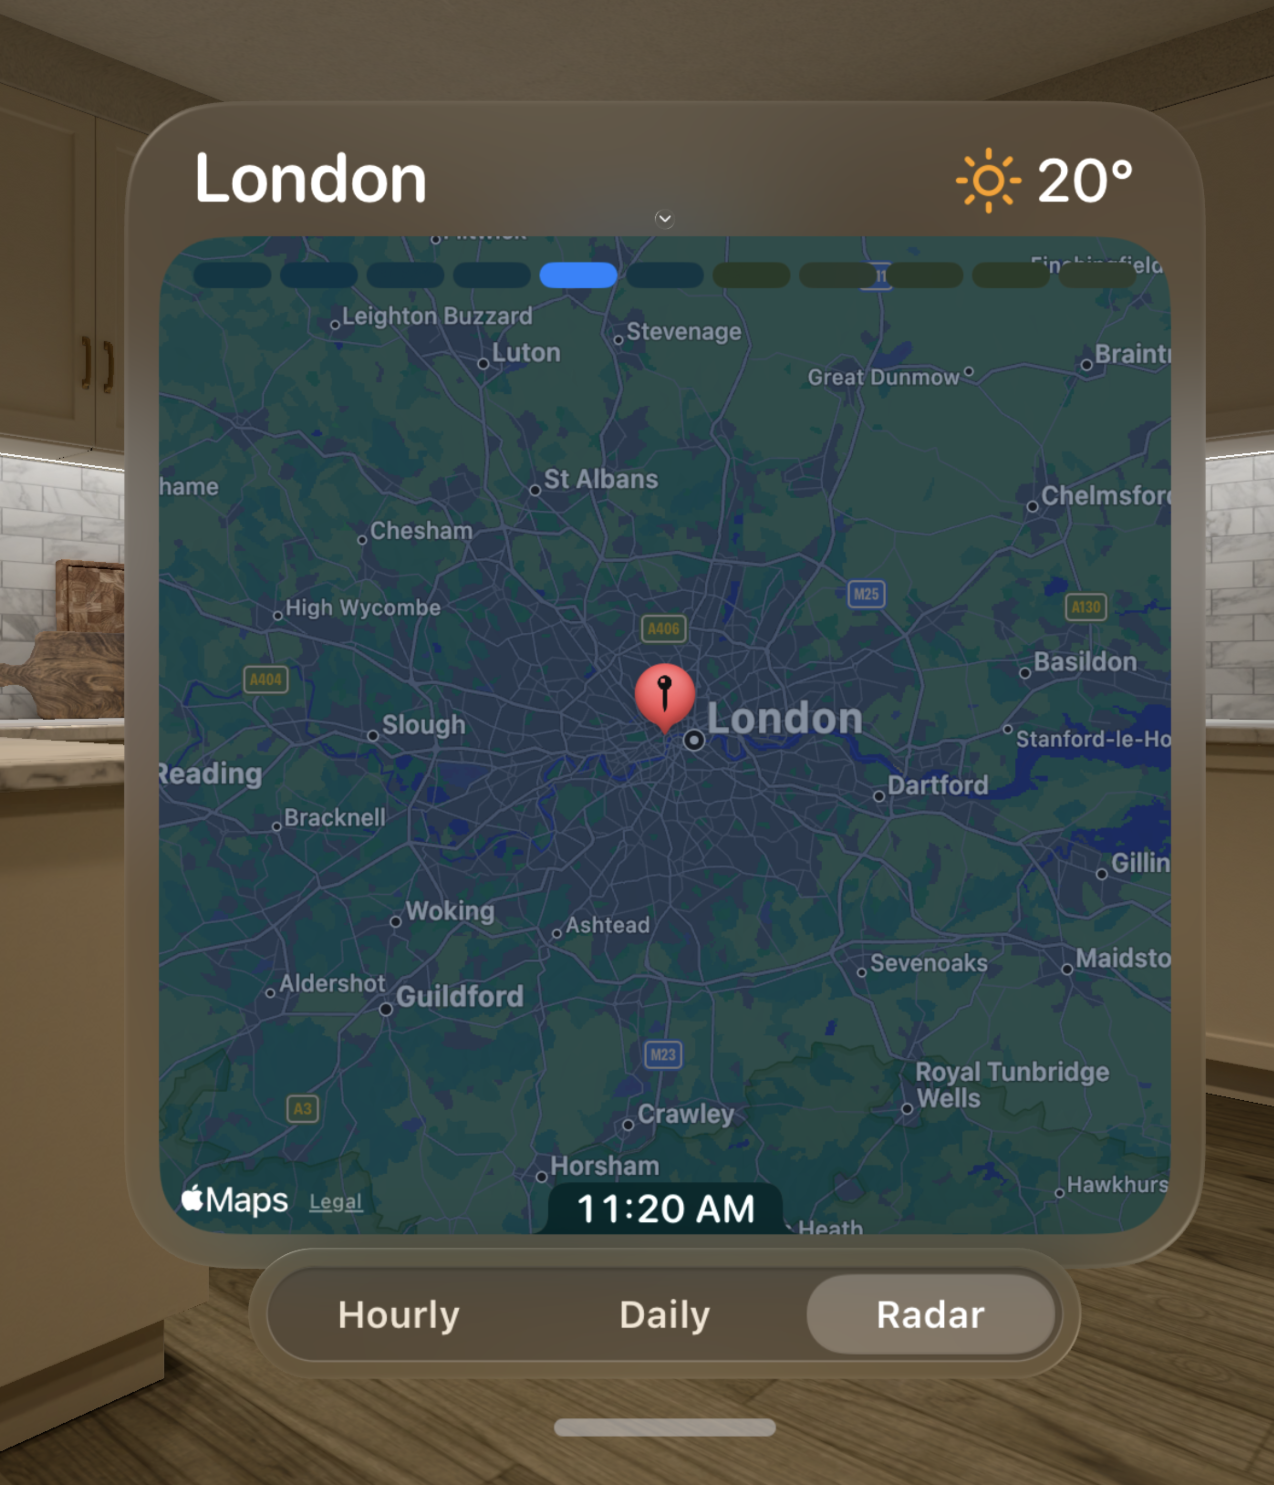
Now for a finishing touch on the bottom ornament. When I originally added it, I had put it into a .toolbar to avoid it being semi-translucent, however this introduced an unnecessary border around the picker. I was posting about this on Mastodon and was super helpfully suggested to instead use .glassBackgroundEffect(in: Capsule()) behind the picker and put it back into an .ornament.
That looks much cleaner.
Overall I’m pretty happy with this UI. It is legible and seems to fit pretty well within the overall visionOS design language.