Indispensable Tools

Design Notes Diary

If all goes to plan tomorrow I’ll be launching the Version Five update to Pedometer++ that I’ve been documenting on this Design Diary. I thought it might be interesting to look at the tools that I used in creating this update.

This isn’t comprehensive, but my hope is to surface potentially less well known tools that I have found super helpful. The obvious ones like Xcode and Terminal are obviously essential, if not particularly interesting.

The only thing I’ll note with those is that the built-in screen recoding in the iOS Simulator (Option-Click the screenshot button) has been super helpful for documenting the journey and making help videos.

Sim Genie

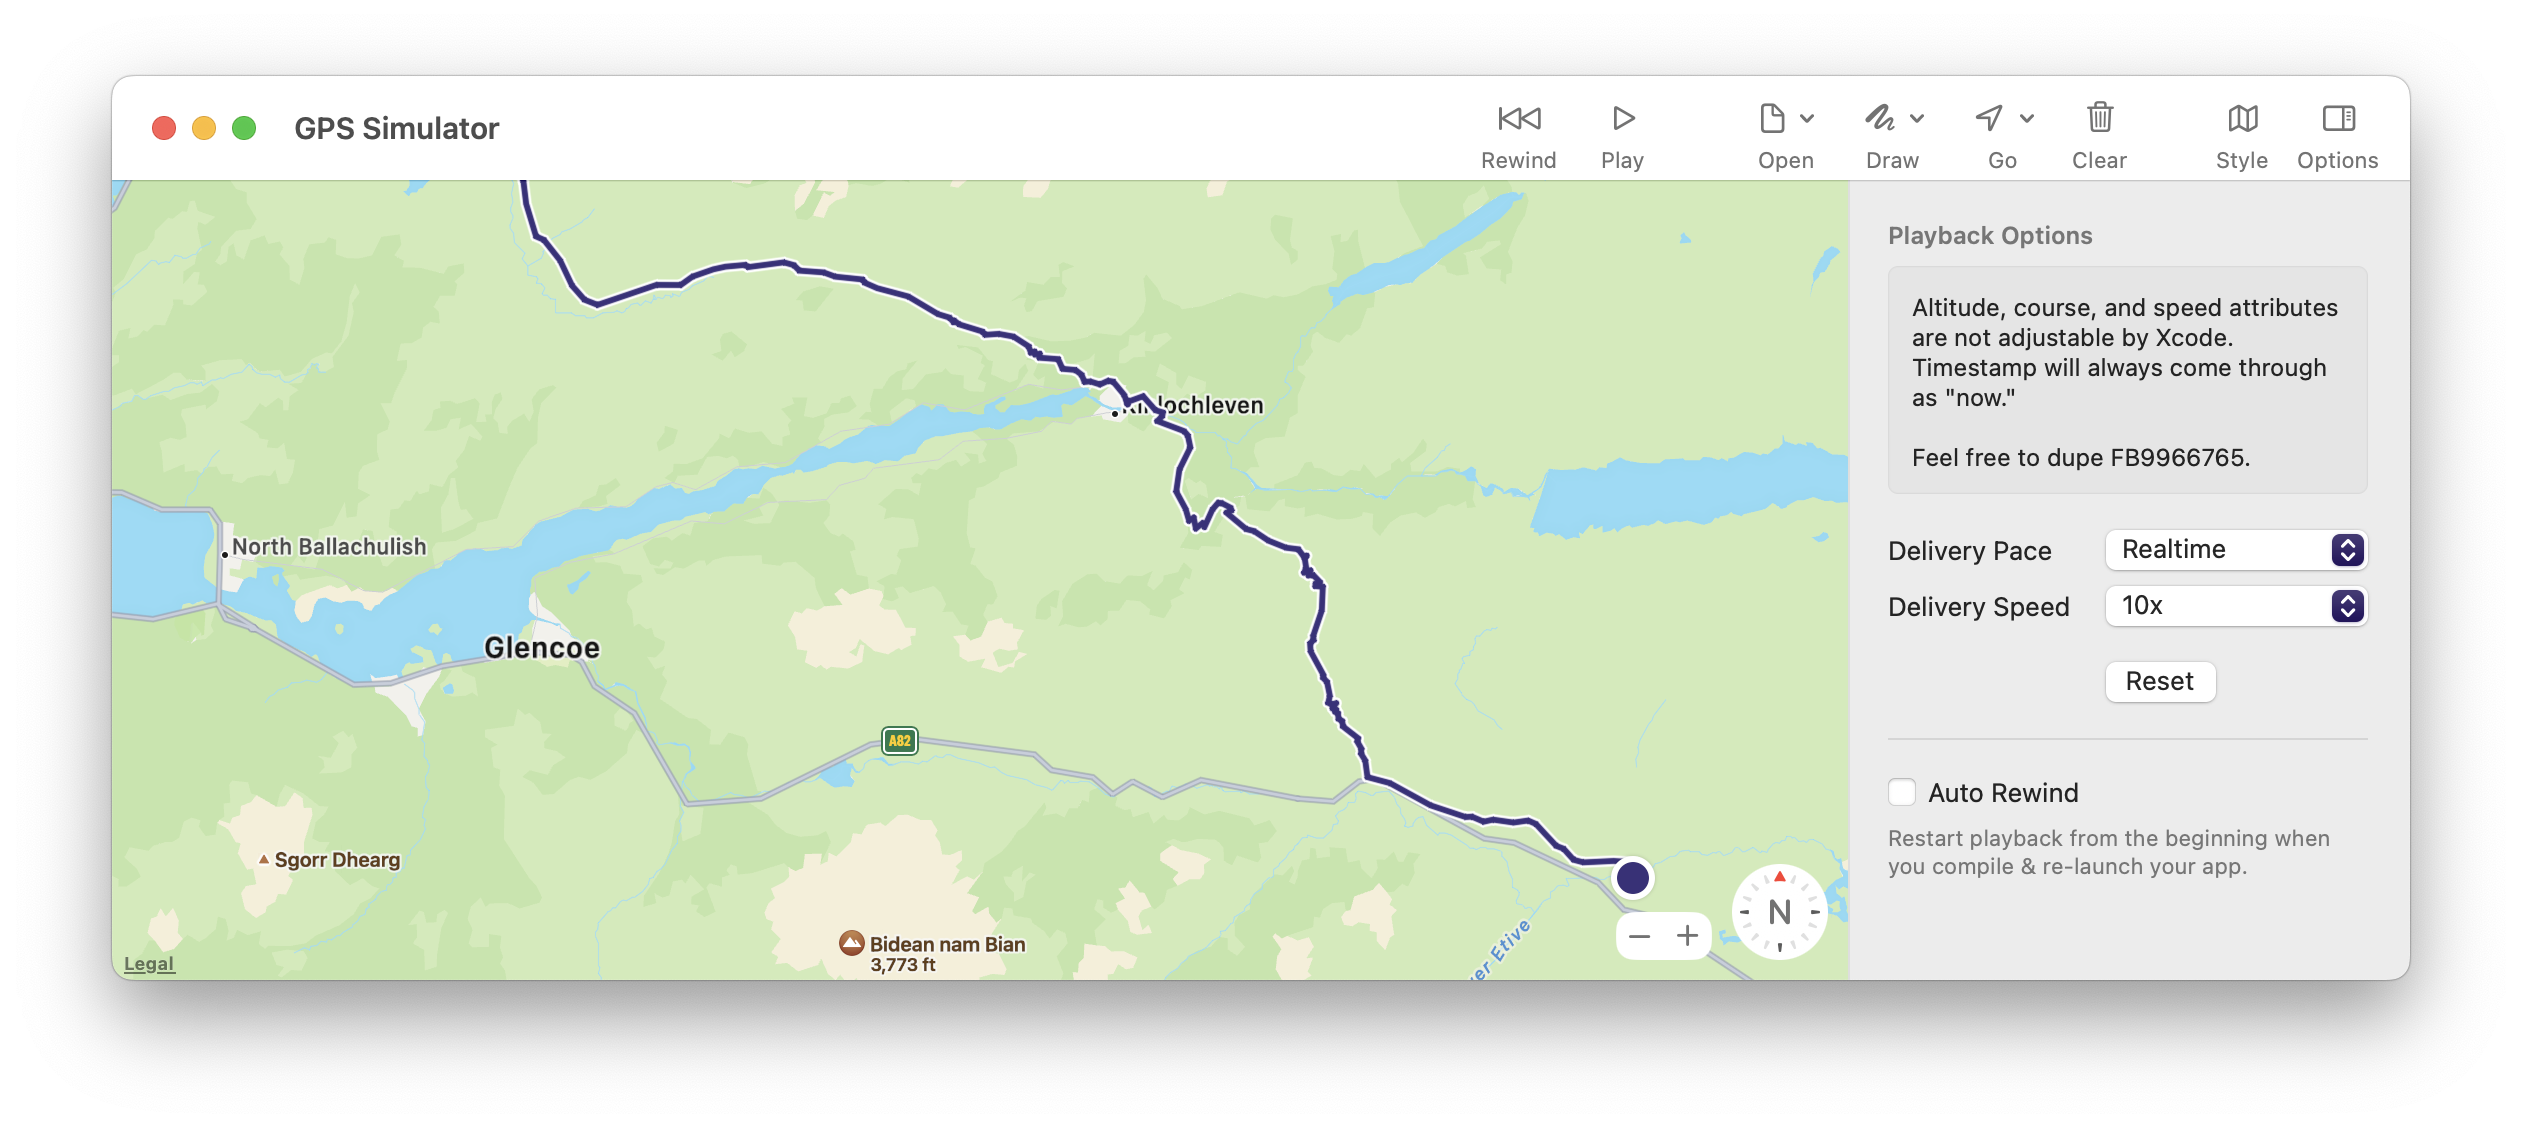
Sim Genie is an absolutely required tool for anyone doing development involving GPS. Curtis has put together a fantastic tool that can do all manner of things for improving the iOS simulator, but its GPS Simulator function is amazing. You load up a GPX file and it will play it back and various speeds and various rates. Probably 80% of the testing I’ve done with this update was done with SimGenie running. It is just that good.

Pastel

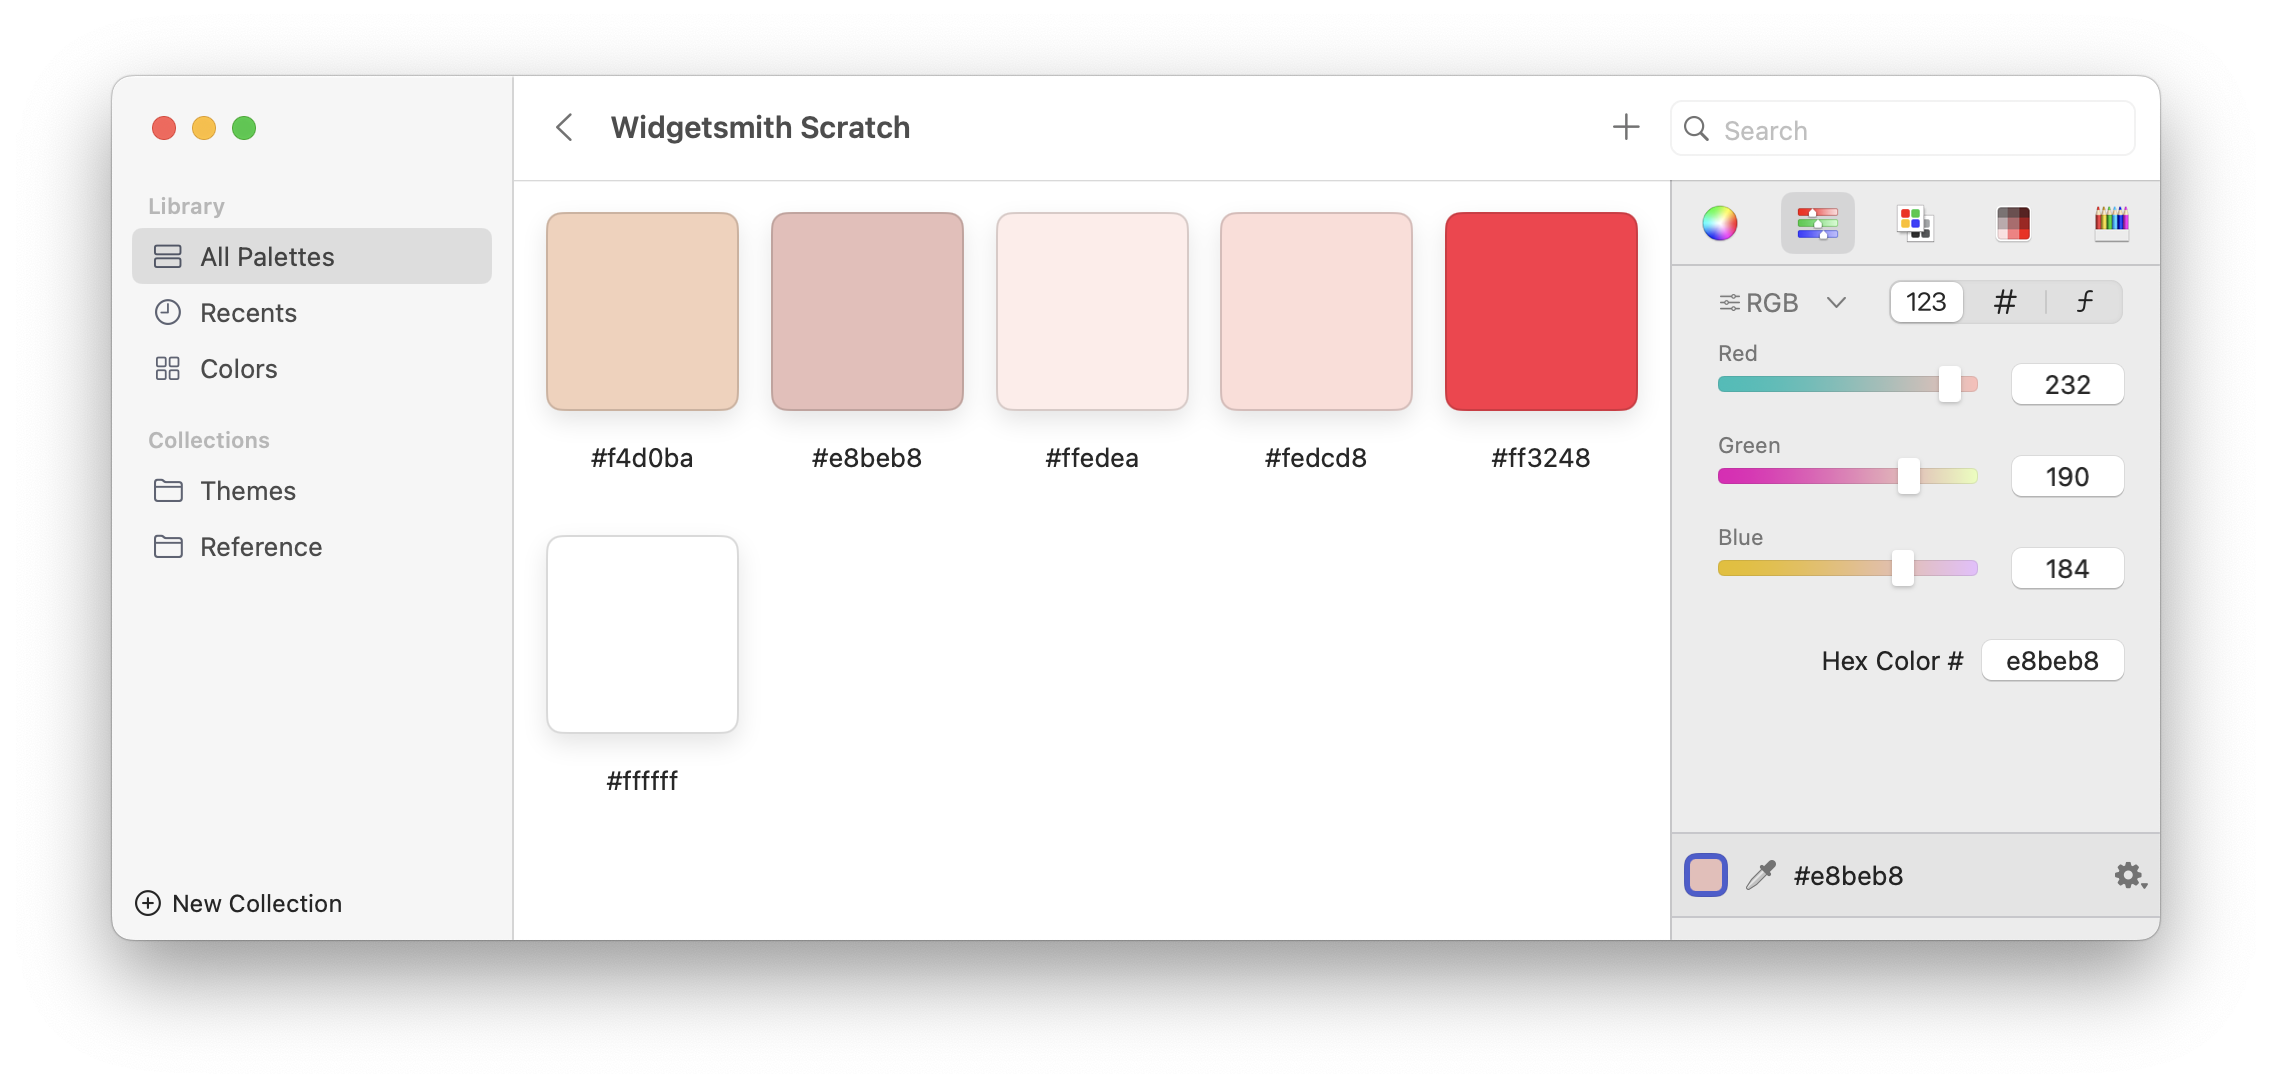
In the same way that Sim Genie is essential for anything involving GPS, Pastel is essential for anything involving color (which is probably every app). The right sidebar is my constant companion while I’m doing visual design. It lets you easily capture colors from various sources (dropper, hex, RGB, HSB,…), tweak them to taste and then export in various code ready formats (UIColor, SwiftUI Color, HEX, etc.). It is my painters palette where I make my colors to then use in my apps.

Soulver

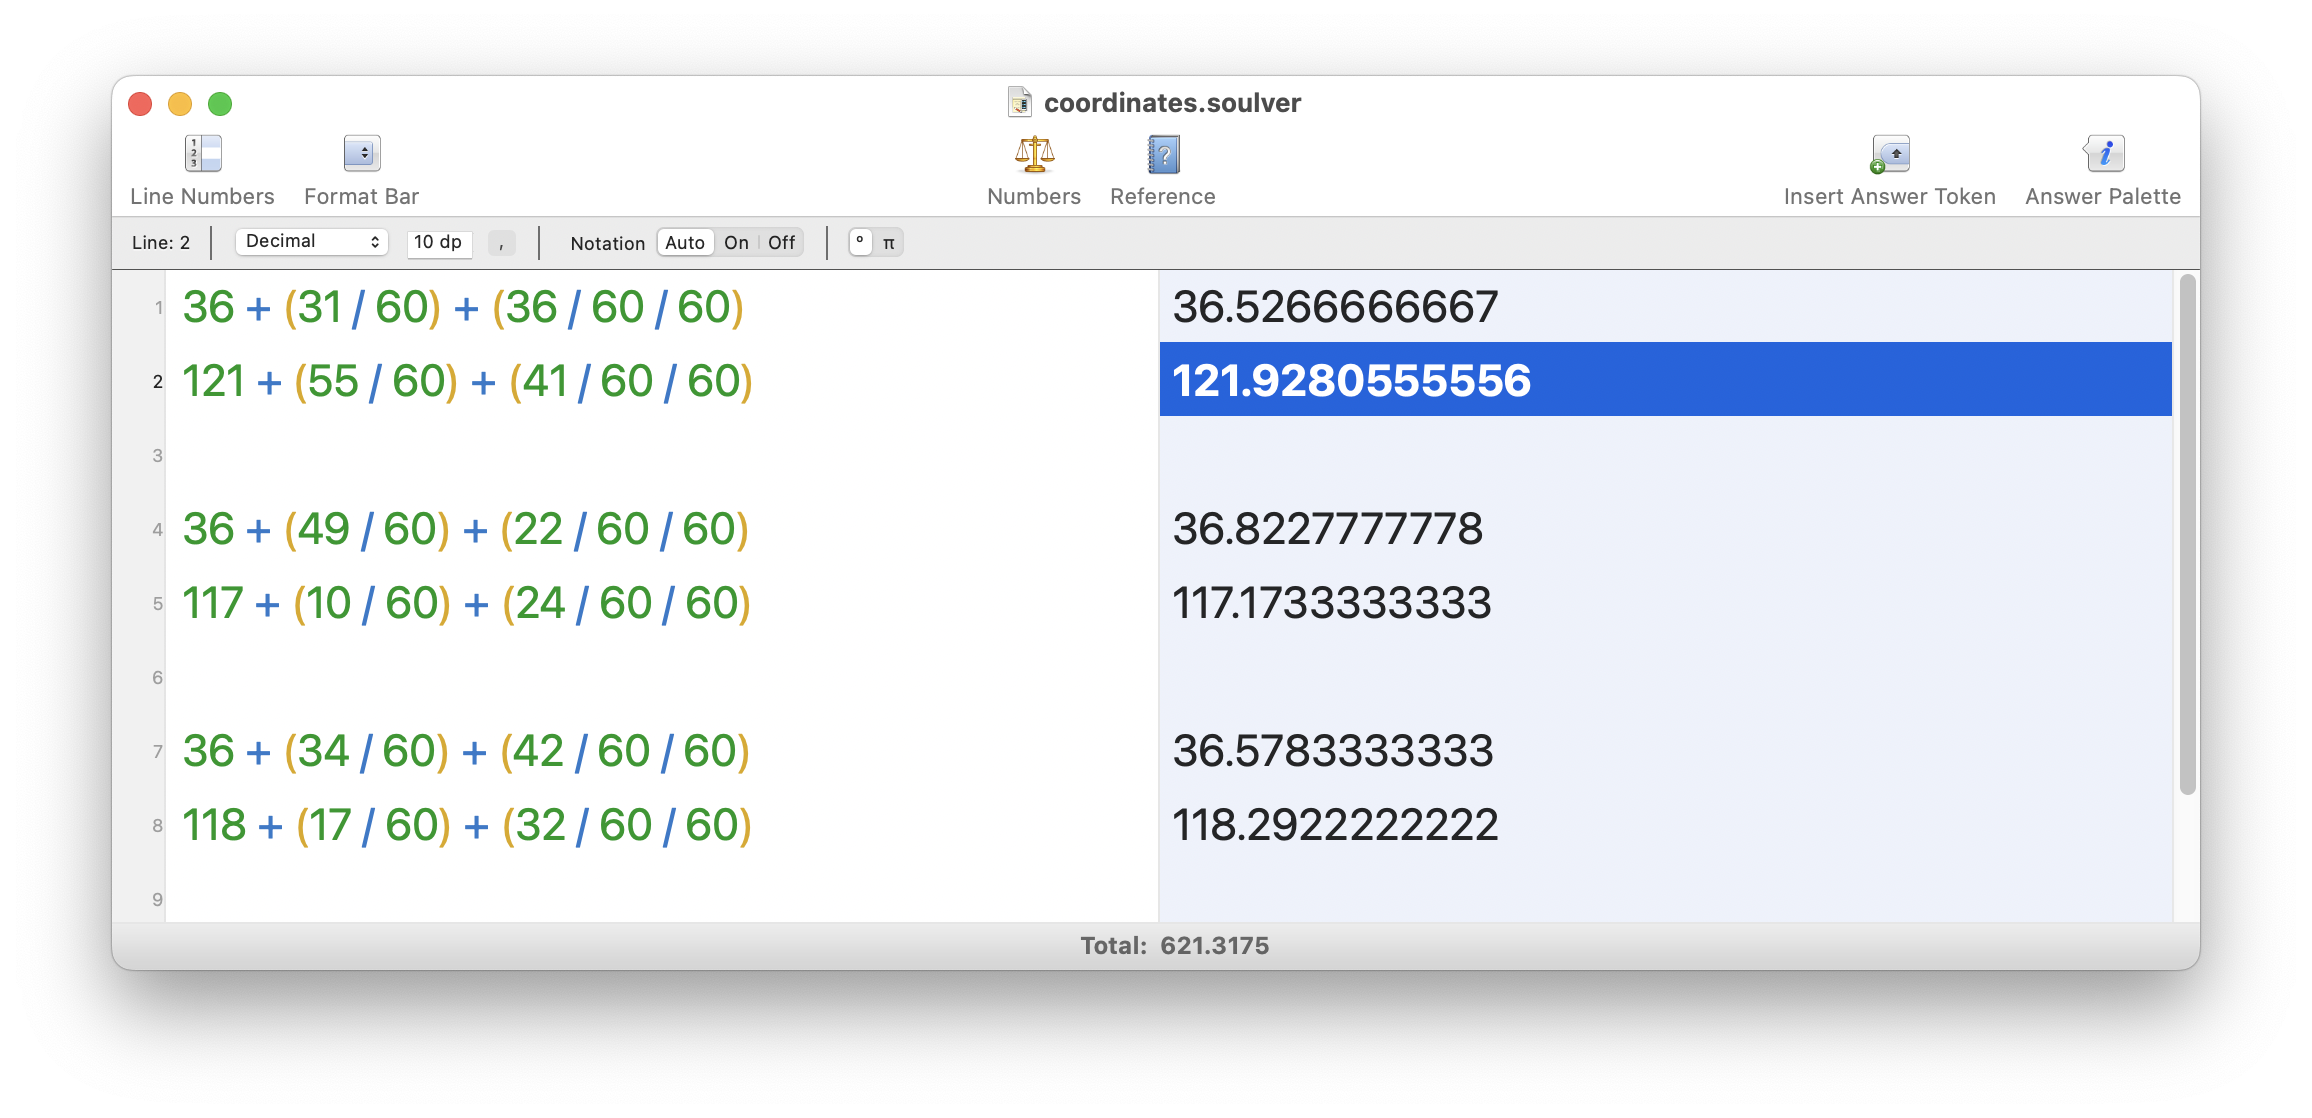
I find myself constantly needing to do small calculations during development. Sometimes it’s to verify some output, or to align some visual element, or to do a bit of math for an algorithm. I really like doing these in Soulver. What makes this better for me compared to a traditional calculator is the ‘memory’ it has where I can quickly and easily refer to previous calculations. Both in the sense of having a running tape of all the calculations I’ve made in a day, but also by using back references (line23) between calculations which lets me almost turn it into a spreadsheet but in a much lighter weight fashion.

Sketch

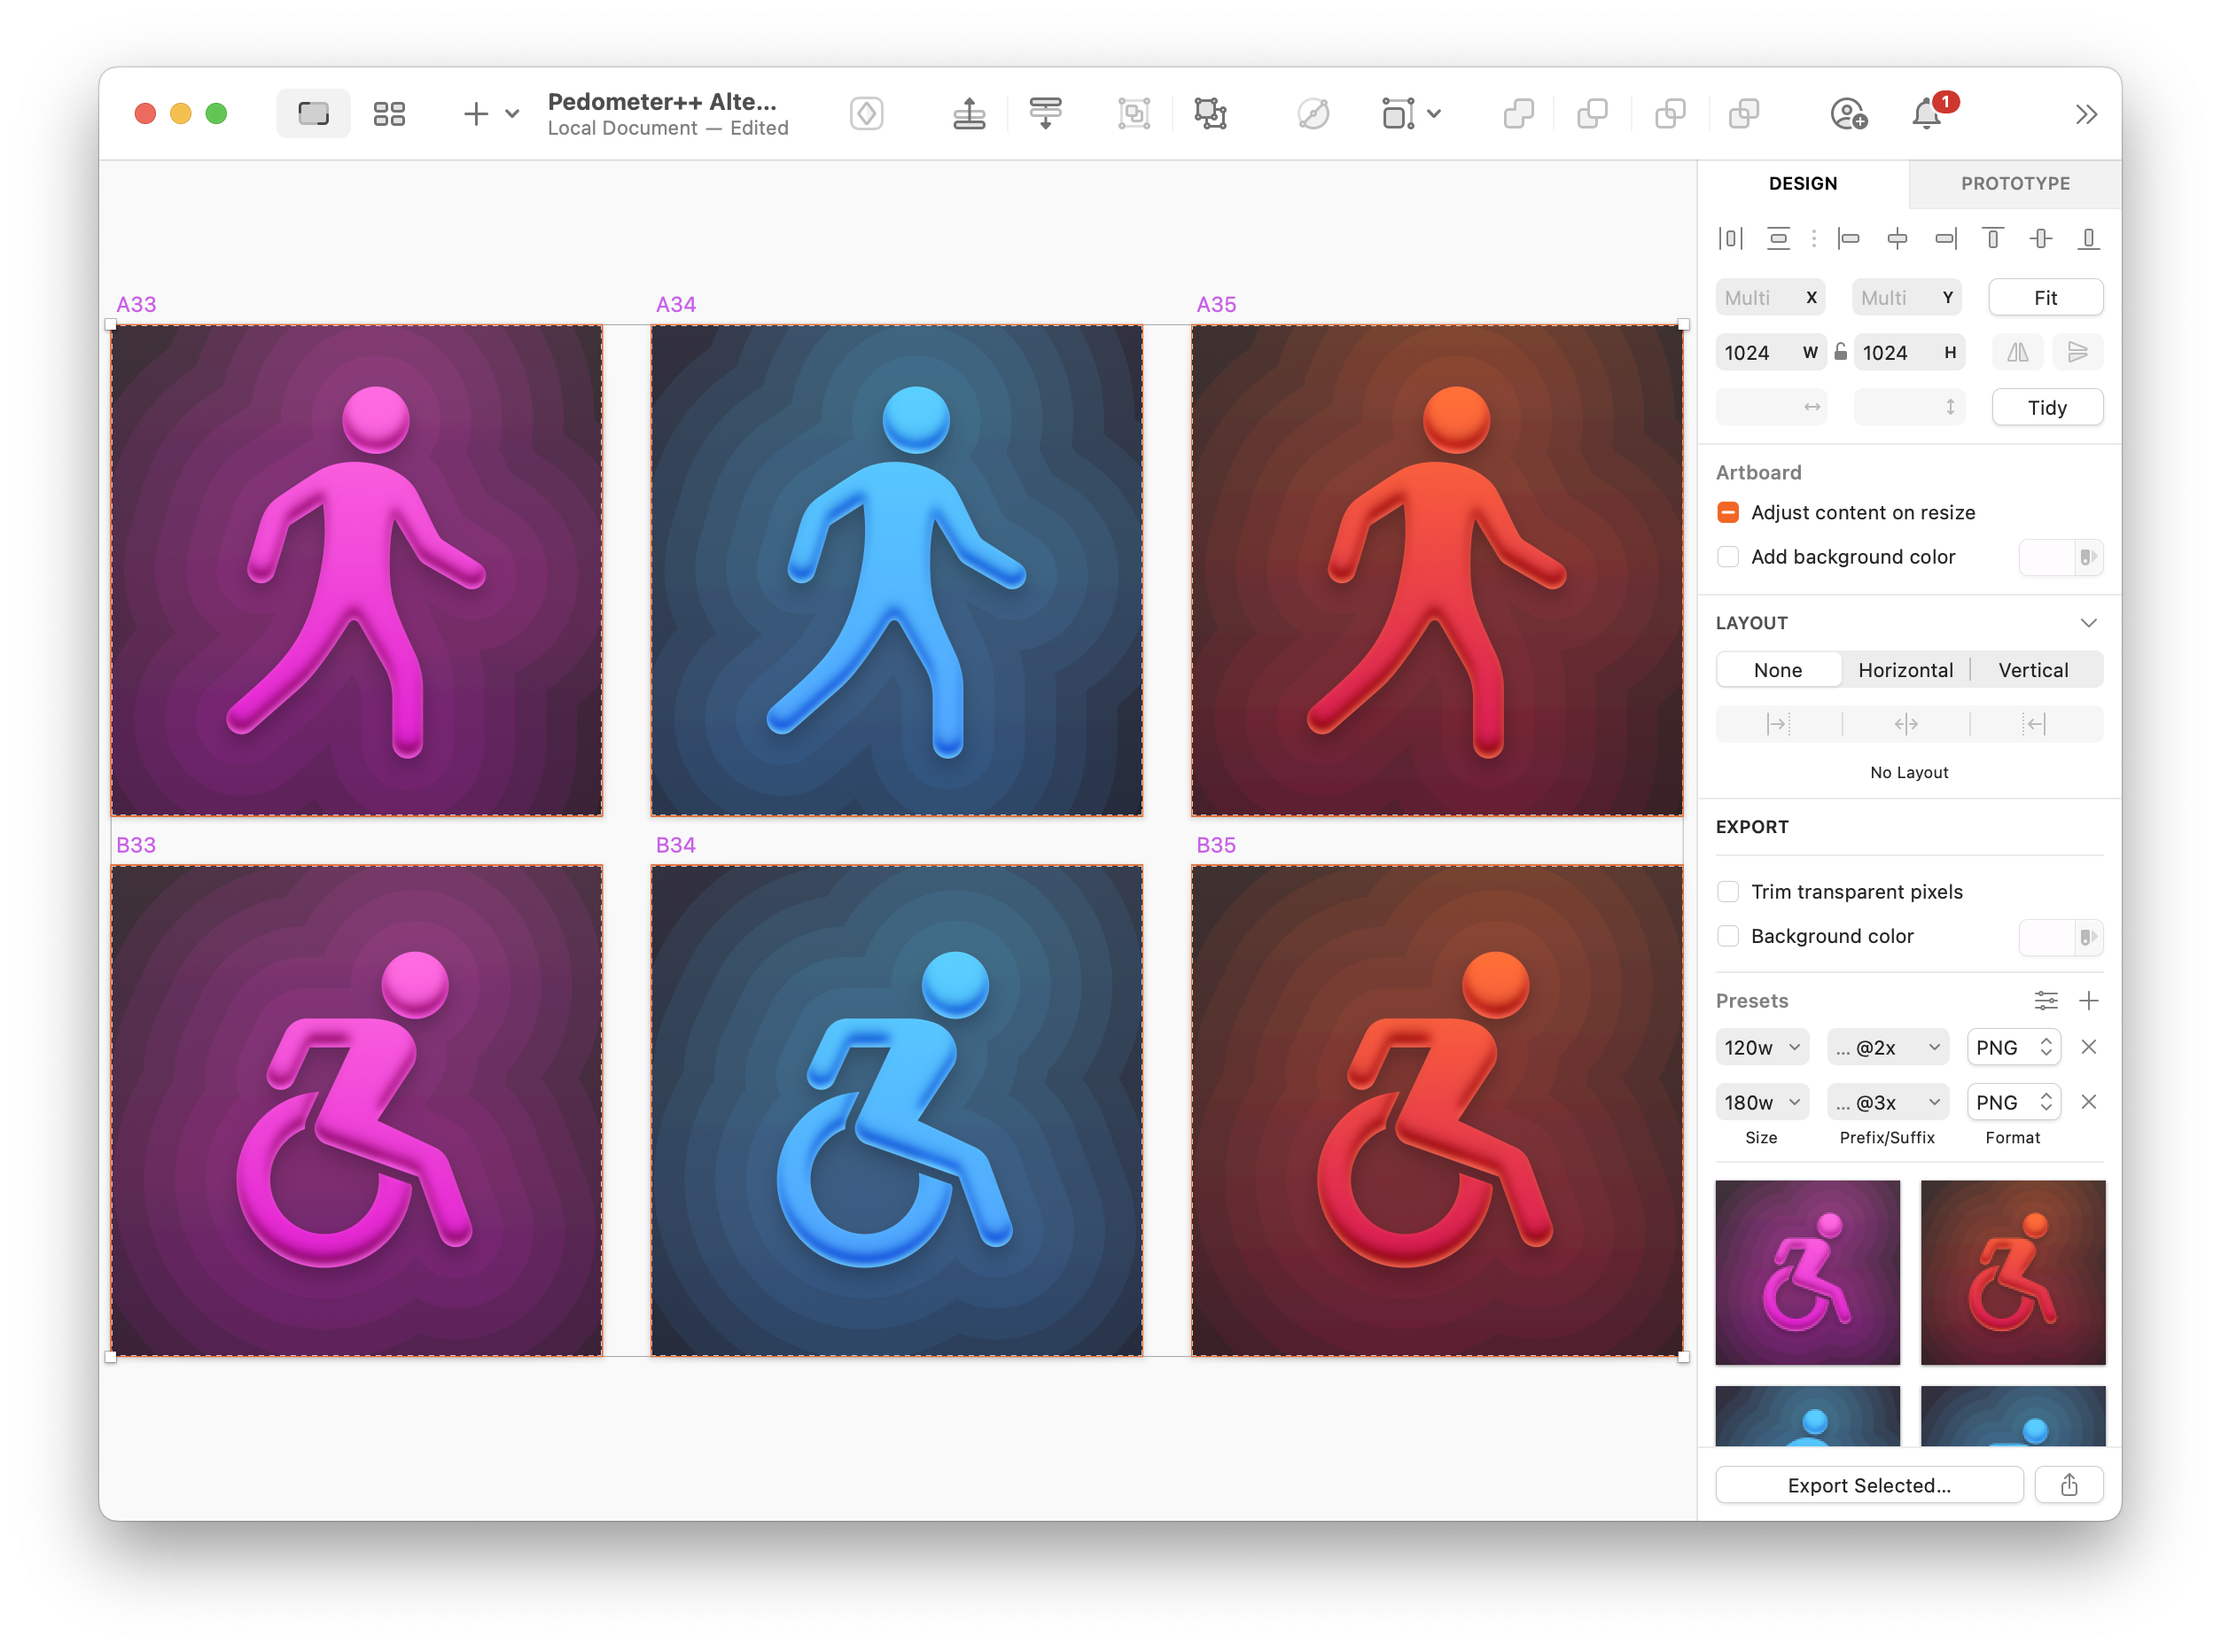
I had previously done much of my external graphic design work in Photoshop, not really because I liked it but because that was what I knew. The visual artist I worked with on this update (the extraordinary Matthew Skiles) did his work in Sketch so I got the opportunity to properly give it a try. It is so great asset generation and management. I’ve done battle with Photoshop’s Assets system on countless occasions, often with tremendous frustration. Sketch’s Exportable interface was incredibly reliable and easy to use.

TextMate

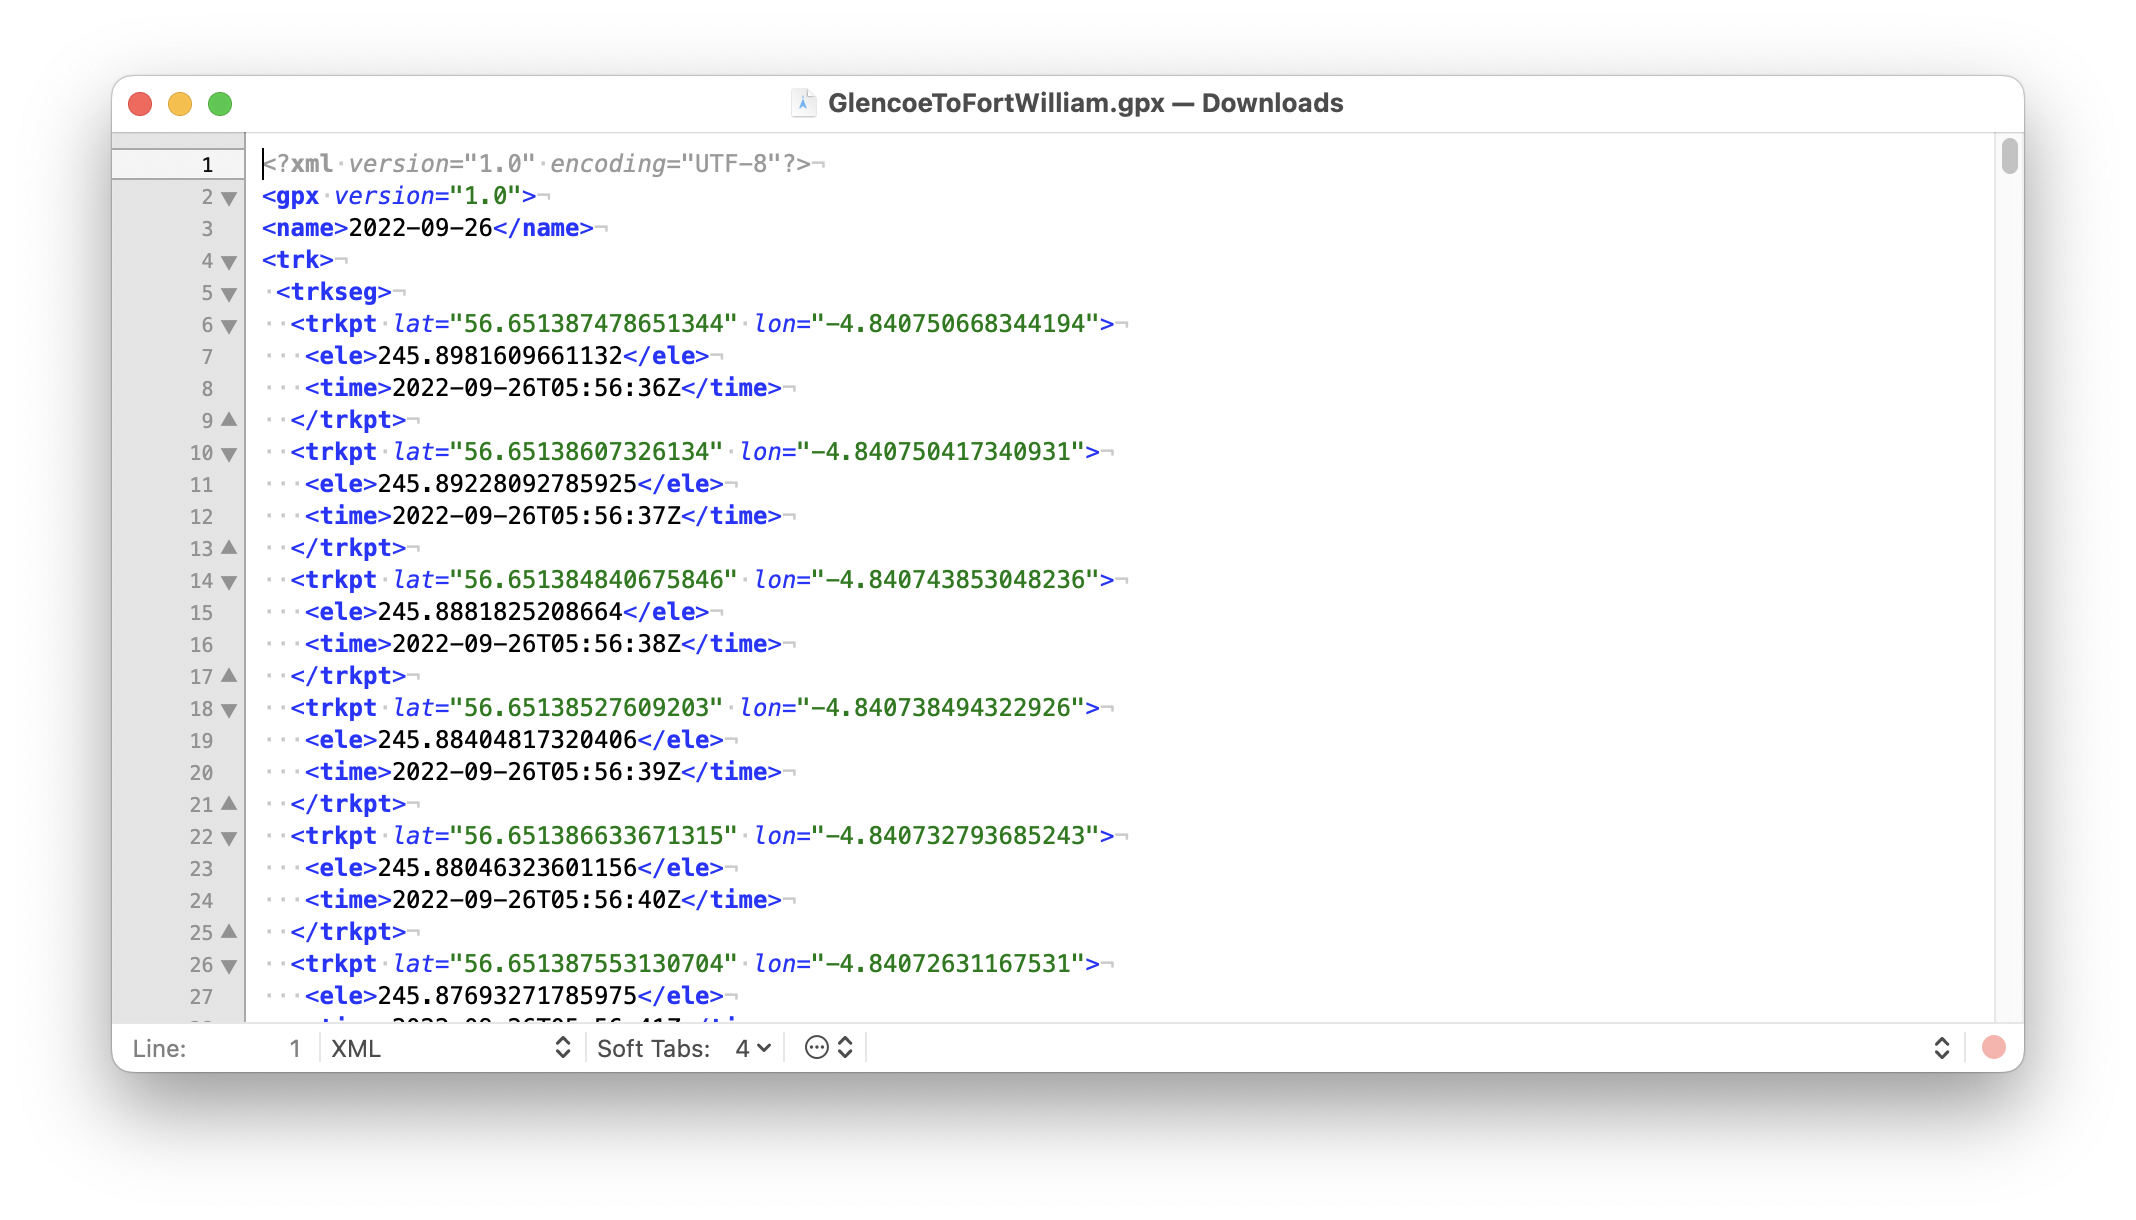
TextMate was the reason I bought my first Mac back in 2005. Back then it was the “IDE” of choice for Ruby on Rails development. 18 years later I’m still using it. There is a simplicity and straightforwardness to it that I really resonate with. There are fancier, more ‘capable’ text editors out there but TextMate just clicks with my brain. For this project I found myself regularly using it for editing/analyzing GPX files or opening up some Codable entries which I’d written to disk.

Gifski

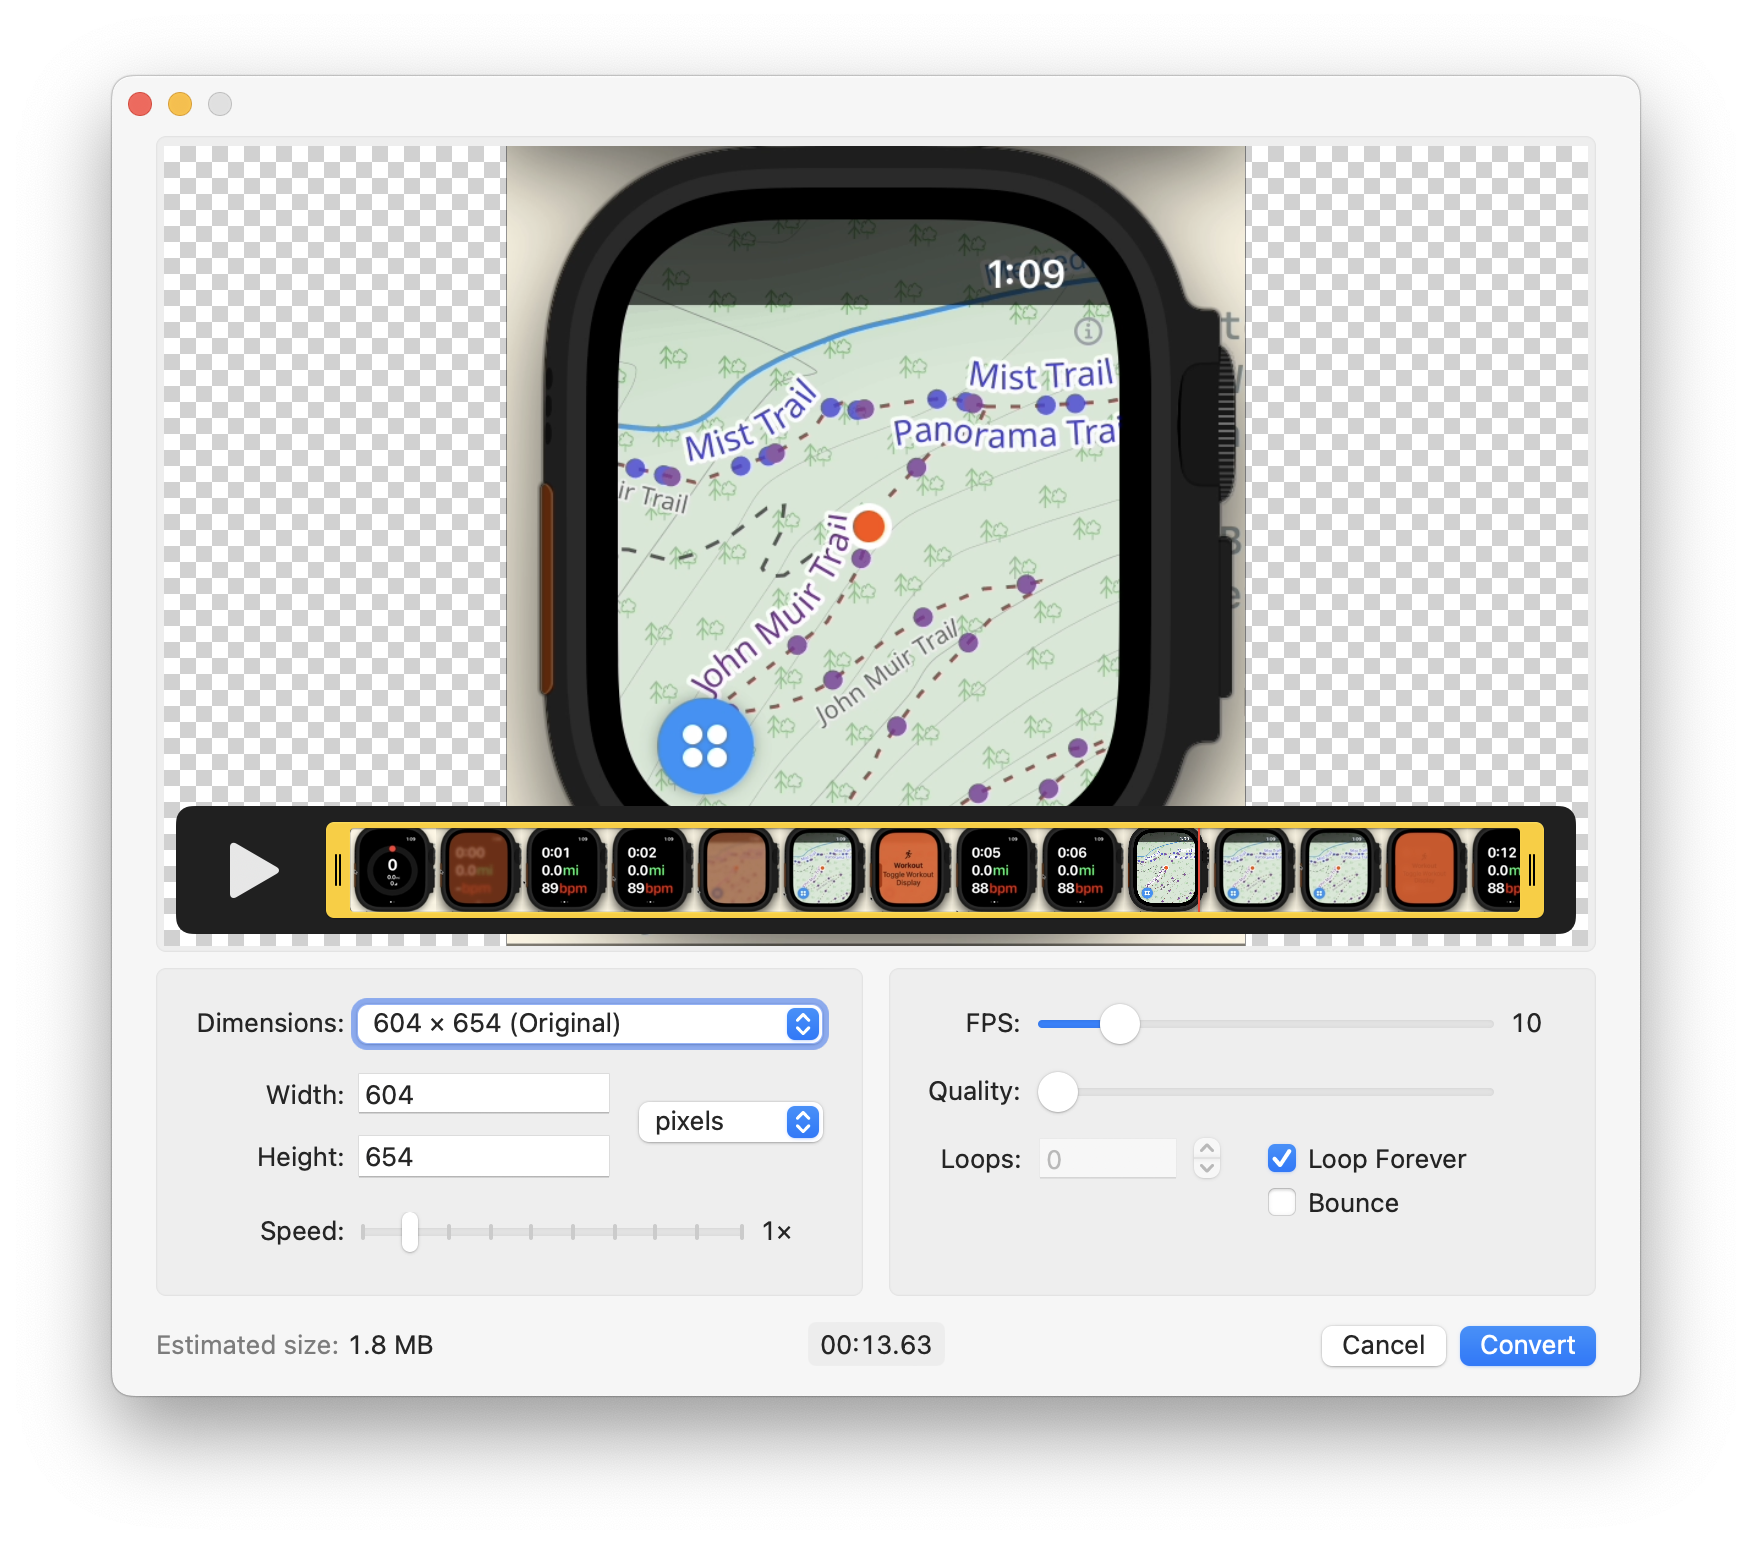
As part of generating this Diary and publishing updates on Mastodon I found myself often wanting to convert videos into gifs. The iOS Simulator’s video recording can export gifs, but I can’t easily edit those outputs. So instead I would often record to video there, then roundtrip quickly to Final Cut to tweak something, then export them in Gifski for sharing. The results were really high quality and I found it easier to use than things like FFMPEG which can do the job but are a bear to get right.

GPX Studio

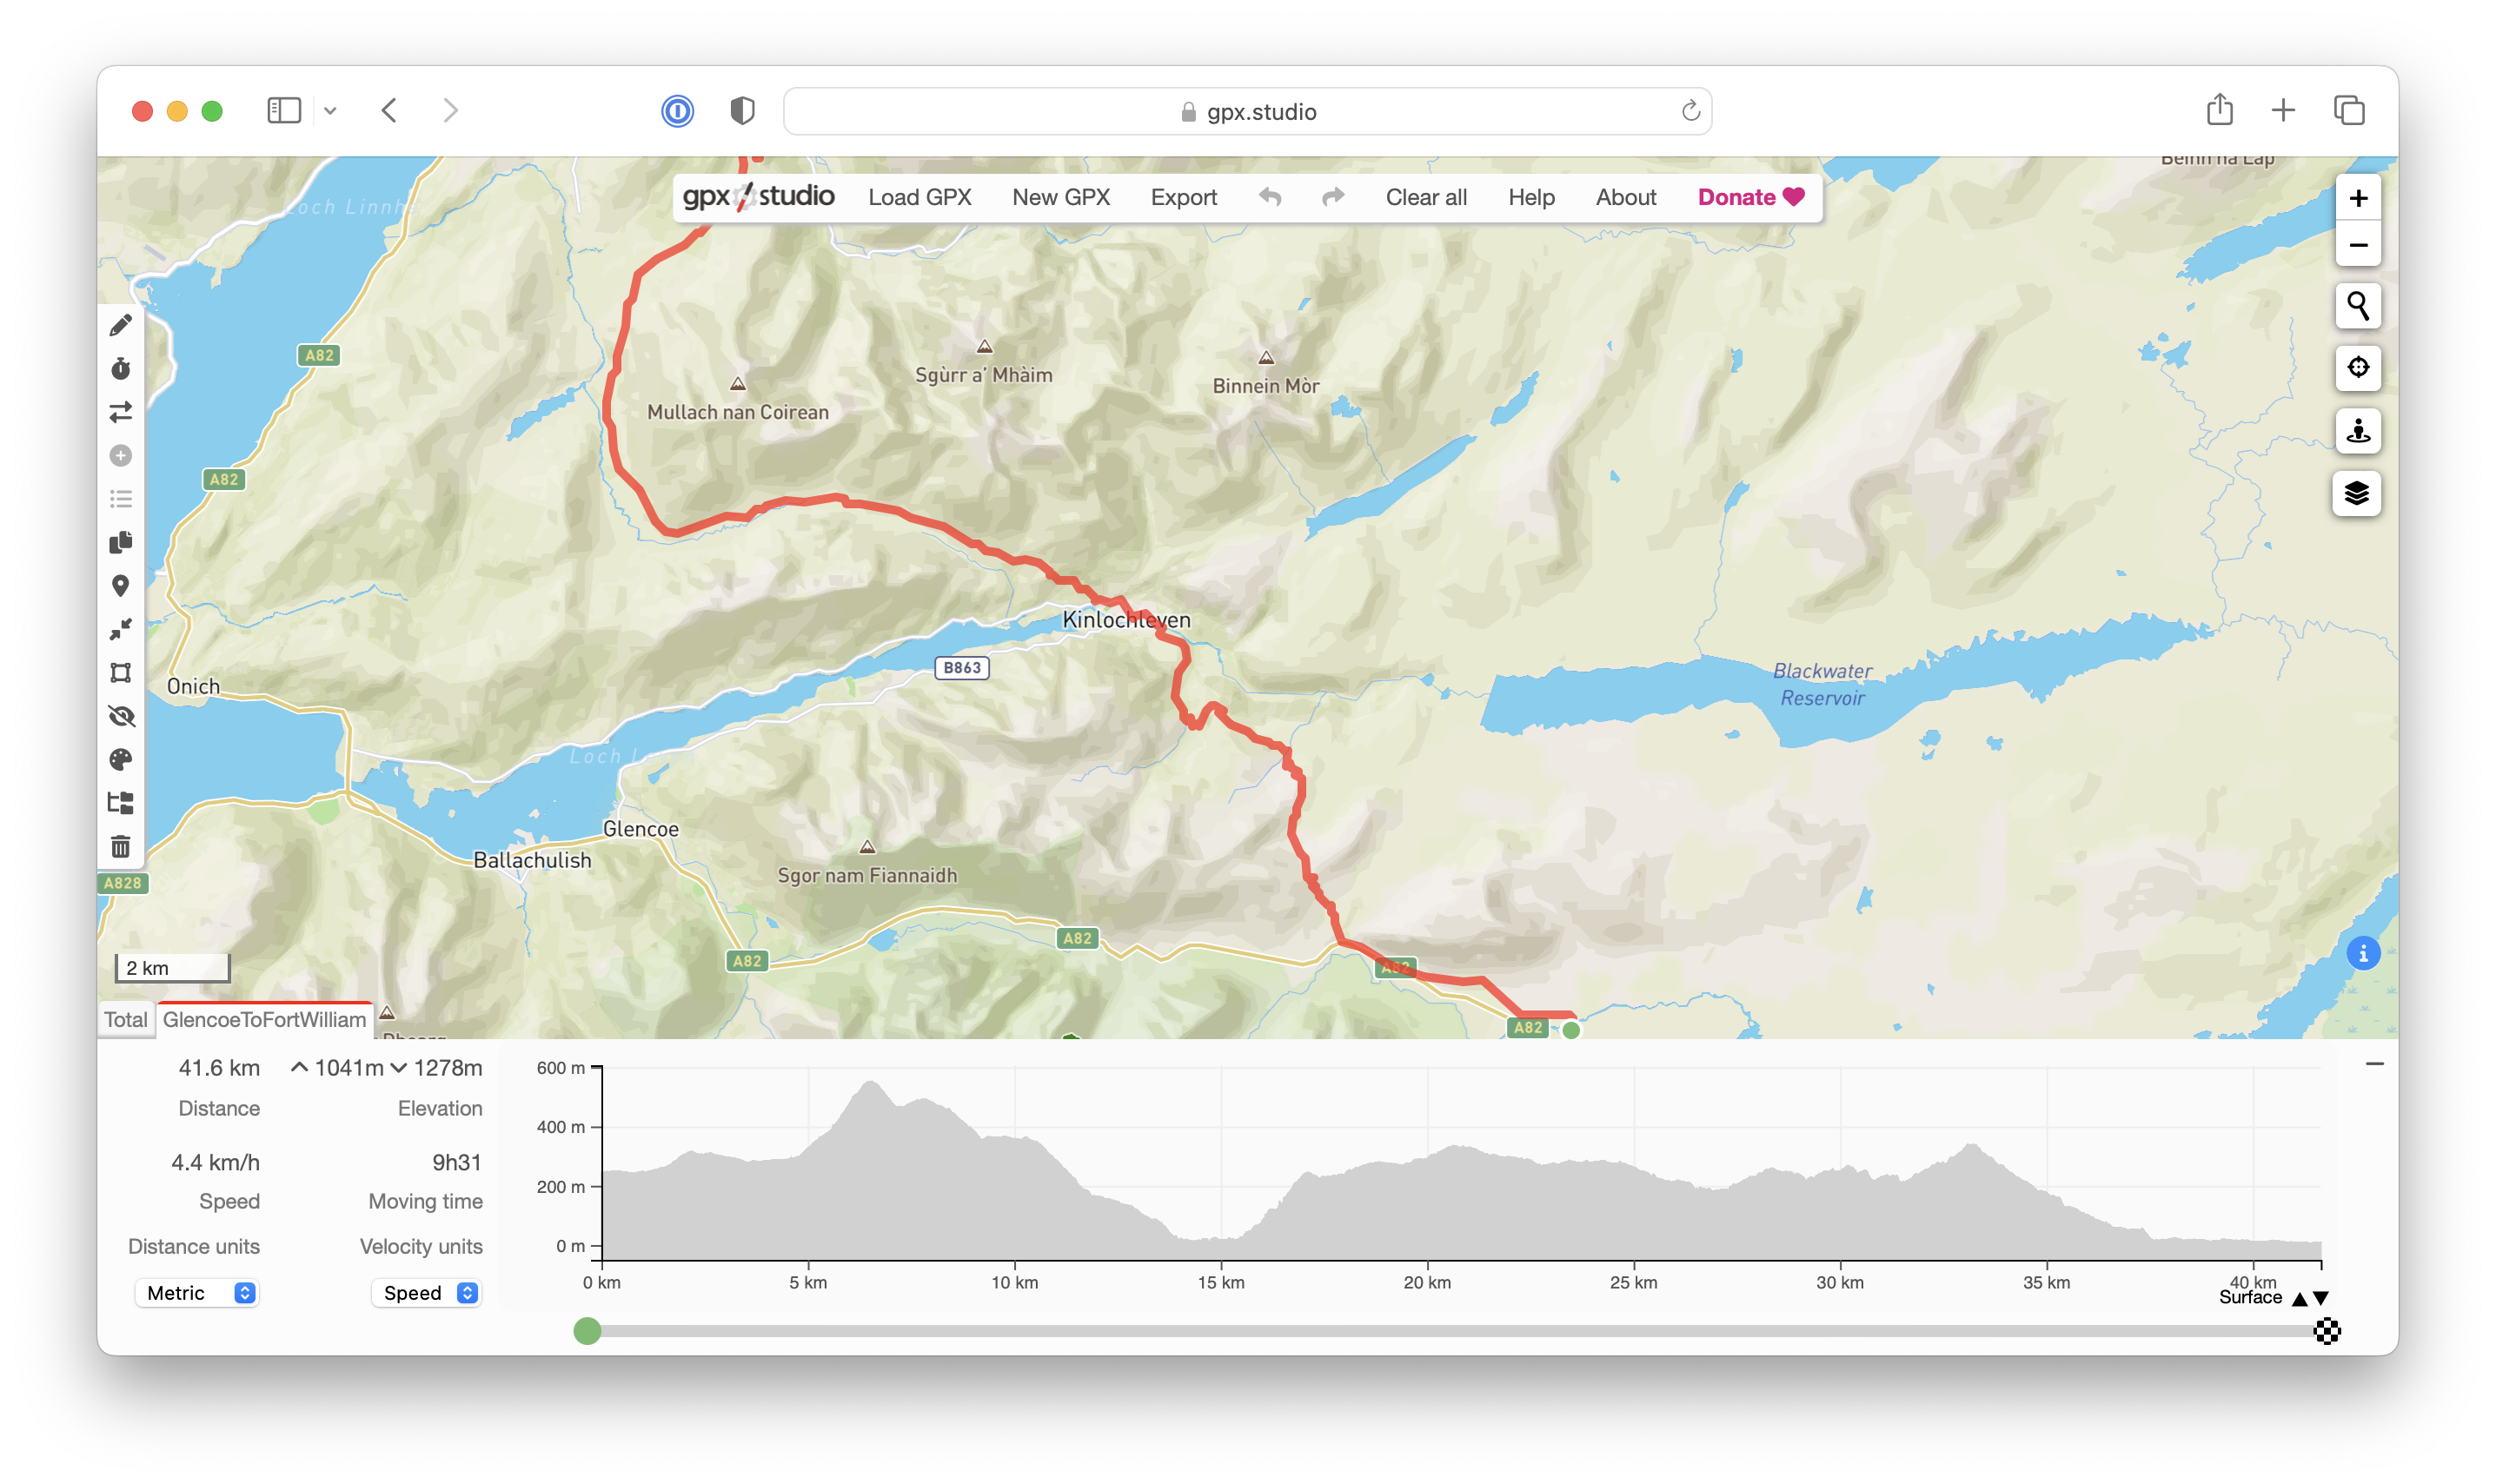
I was constantly juggling GPX files for this update and found the best place to preview/compare them was the website GPX Studio. It didn’t blink an eye at some of the gigantic files I threw at it. It also allows for the overlaying of multiple traces concurrently, which was incredibly helpful when tuning my GPS algorithms to compare the results. Another bonus with it is that it is open source so that I could even look up the javascript code they are using for some of the operations when I was confused as to why we were getting different results.

Kaleidoscope

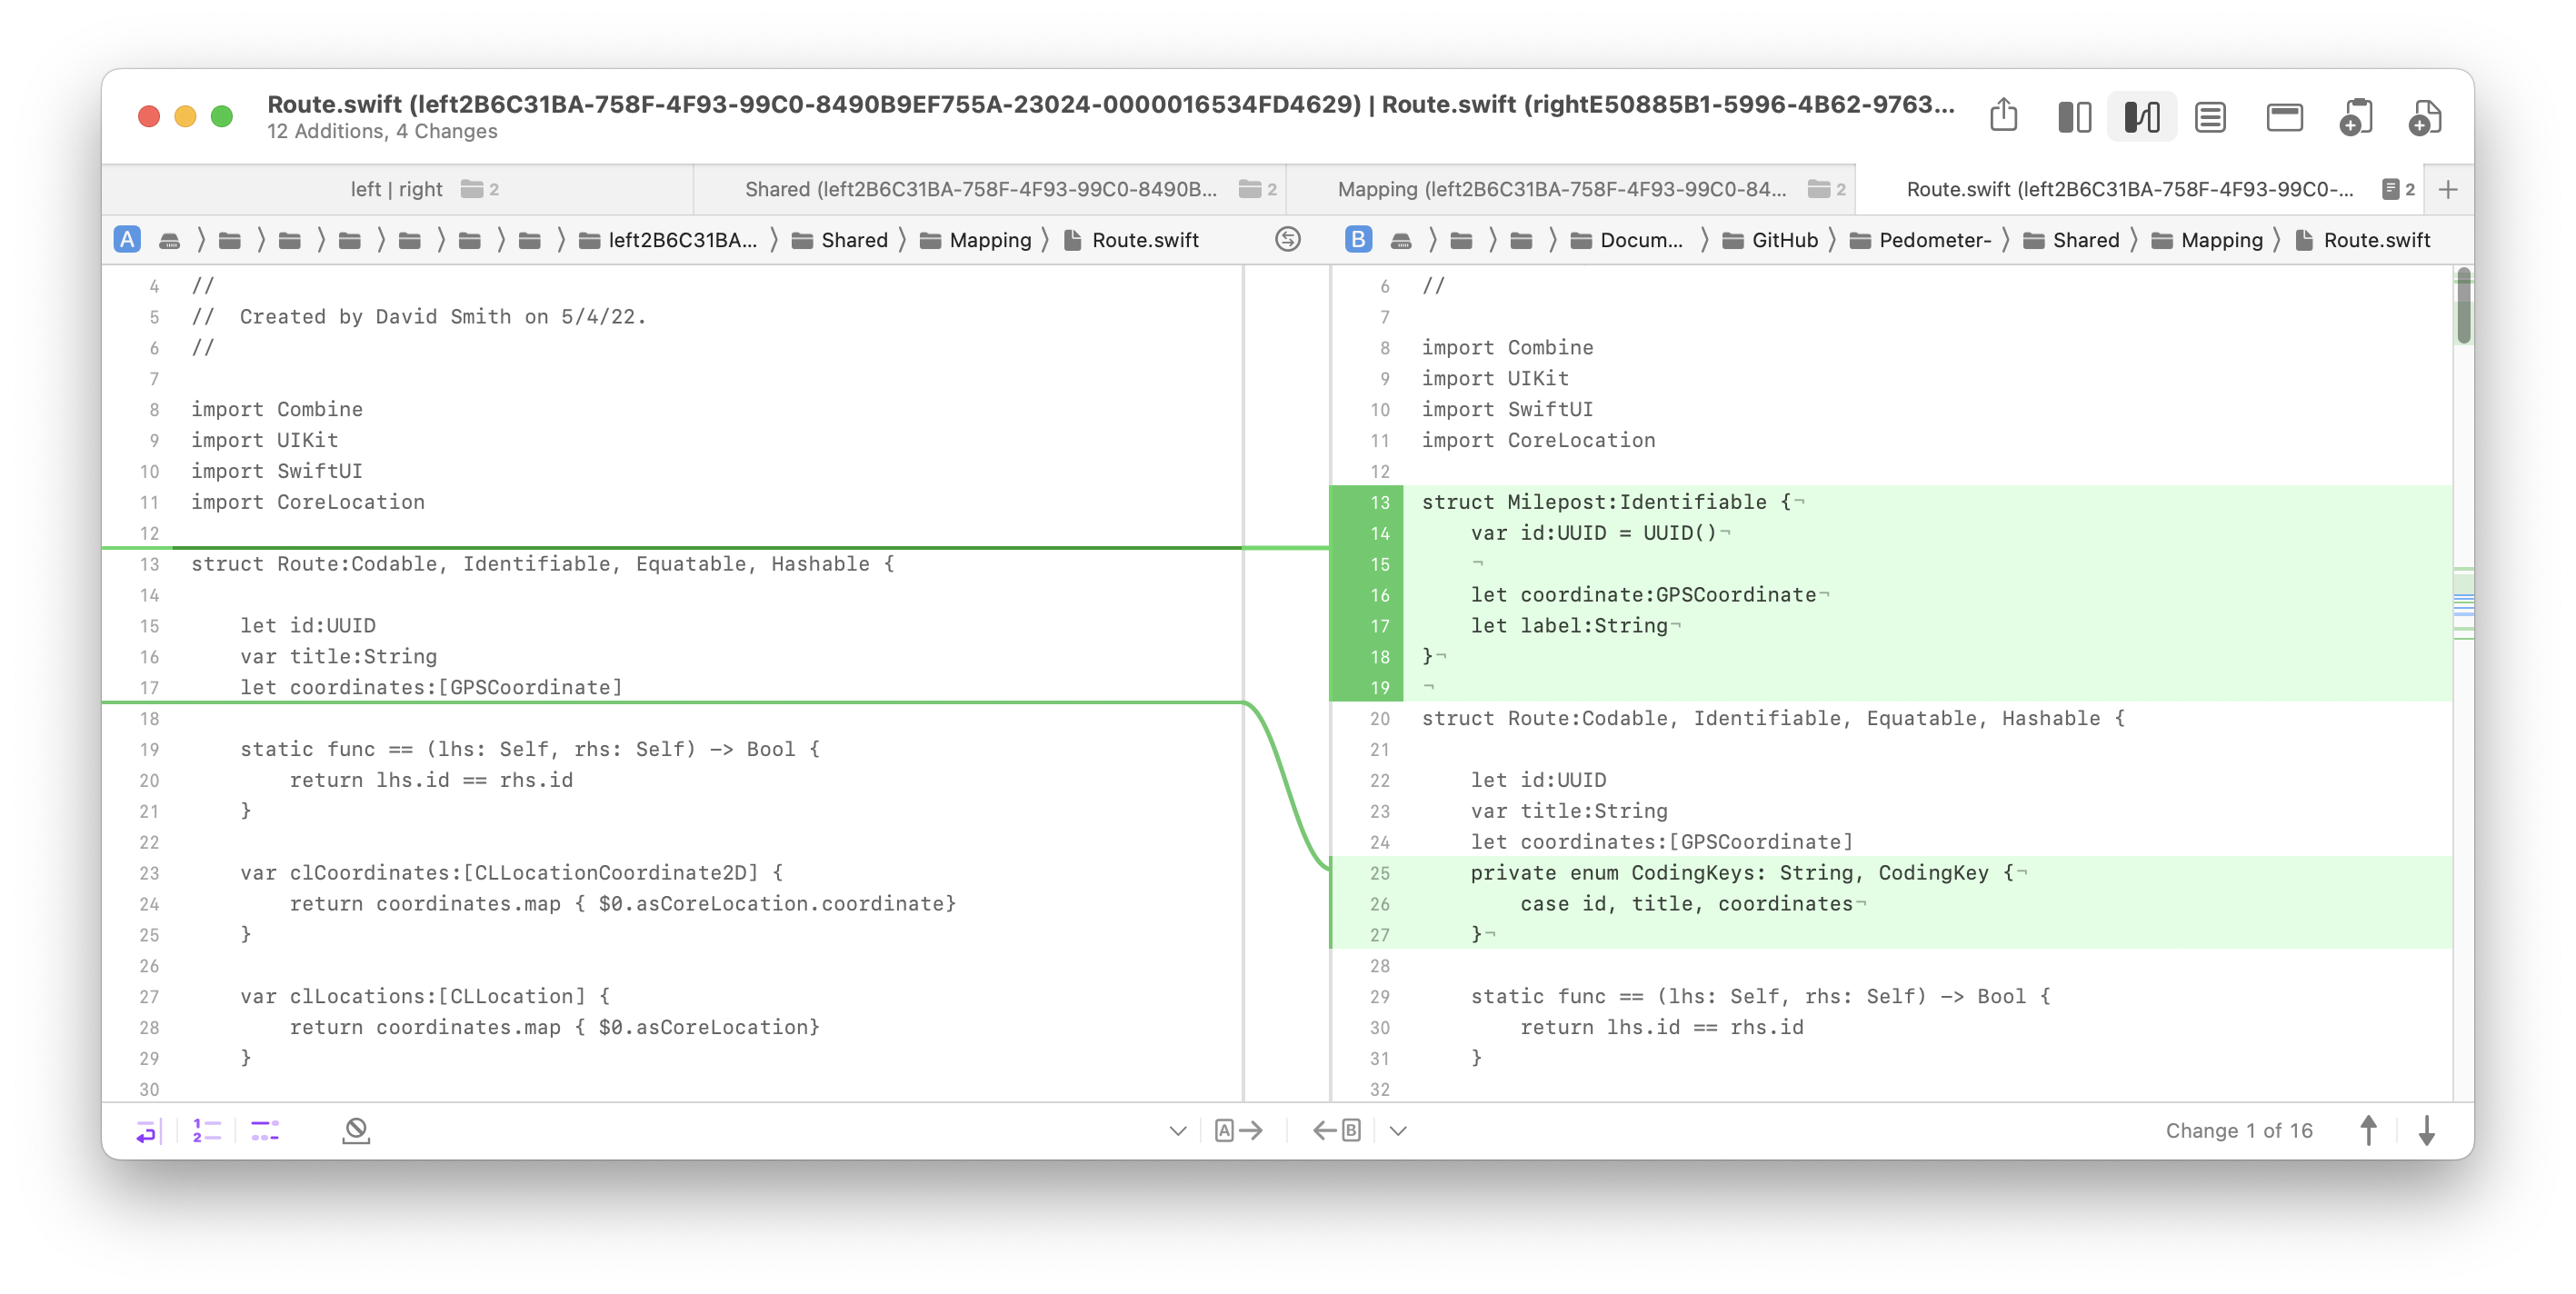
Before I publish any build publicly (be that TestFlight or App Store) I always send the commit diff from the previous version to Kaleidoscope. Because I’m a one-man team, I don’t have anyone else reviewing my code as I go. What I have found, however, is that by taking the code changes outside of my normal working environment and into Kaleidoscope I can often find errors and issues before they get published. There is some switch that flips in my brain when I’m doing these reviews where I can pretend to be someone else being critical of the updates, which I find I can’t easily do when I’m in my main git client (Tower).

iA Writer

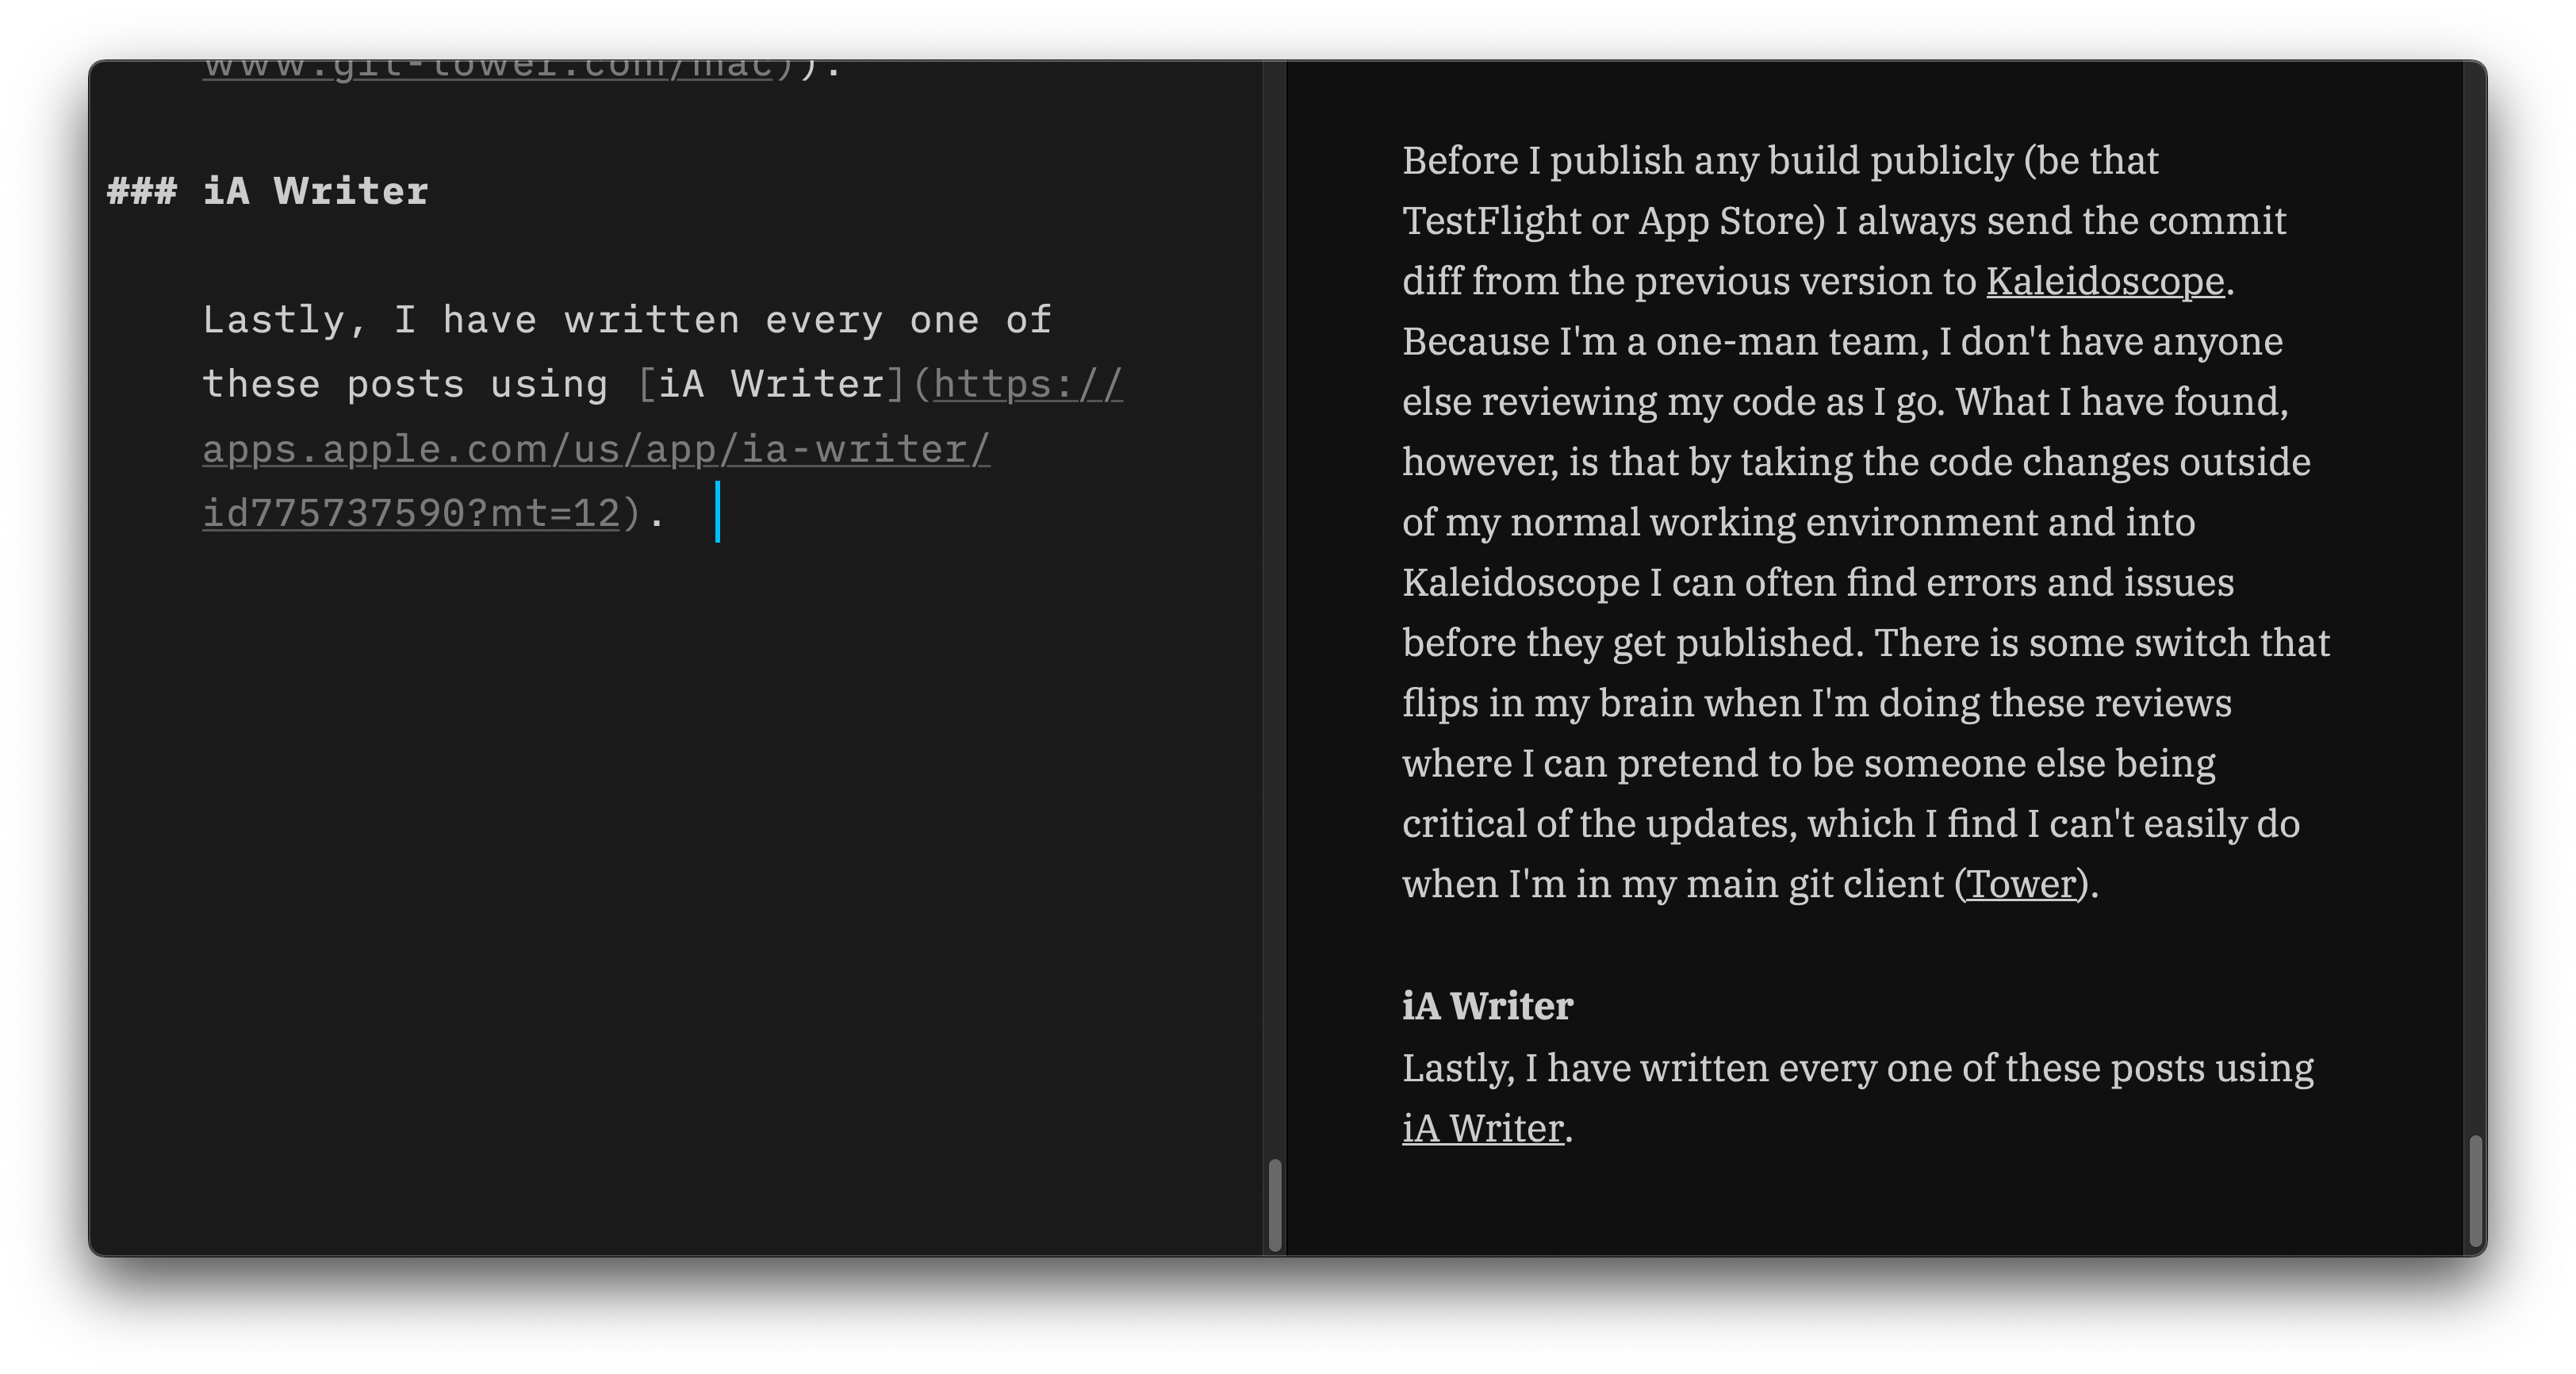
Lastly, I have written every one of these posts using iA Writer. There are many markdown editors, but this is the one which best works for me. I really like having a live preview next to my writing and having the ‘focus’ modes is really helpful at getting into a good writing flow.

David Smith


Learning from my Mistakes

Design Notes Diary

So my article last week about converting angles into the SwiftUI unit points had a bug in it. I was doing a linear interpolation between the corners rather than a trigonometric one which meant that my result would slightly fall off the true intersection point.

Here is the animation that Rob Mayoff made to illustrate this error:

Several readers wrote in with a correction to my work observing this deviation. This presented a really interesting opportunity to see how different minds find the solution to the same problem.

As a brief aside I wanted to commend my readers about how friendly, kind and respectful you all are. All the corrections I received were very friendly and not at all condescending. I very much appreciate that. You all rock!

So here is the fun part, let’s dive into the diversity in solutions.

DrewFitz

DrewFitz posted a solution that looks like this:

The standard cos and sin computation to find the x and y component along the circle inside the square, then scaled outwards to meet the square.

robb

robb posted a solution that looks like this:

Very similar in concept but rather than building a common scale factor and applying that to the output regardless, they instead make the different quadrants explicit with an if/then statement.

Rob Mayoff

Rob Mayoff posted a solution that looks like this:

Rob’s whole solution is really worth a read, there is some super clever SwiftUI stuff used to create the “proof” demonstration.

From using a Swift Task to inside of a stride loop, to a very elegant use of the Grid control for the layout. Seriously, load it up in Xcode, and I’m confident you’ll learn something from it. I know I did.

Anyway, onto his solution. I find Rob’s solution a bit harder to follow, but helpfully it includes two links to explanations. It is doing the generally same thing as the other solutions but in a more concise syntax. If I’m being honest this is the kind of code I get very intimidated by when I read it. It looks like deep magic; powerful, but less accessible.

I really like how it extends UnitPoint to make this a “built-in” SwiftUI option. Honestly, having seen that I really hope that iOS 17 adds this as an option (FB12011738).

Conclusions

As funny as it might sound I am really happy that I made this mistake. It created a really helpful learning opportunity for me to see how different minds would solve the same problem. I have learned a ton from reading through these varied solutions to a problem I was wrestling with.

Code isn’t precious, it can always be improved.

The reality of being an indie developer is that I very rarely get the benefit of other people’s approaches to problems I’m working on. This is certainly one of the biggest drawbacks of my situation. So when I do get the opportunity to learn from other developers I jump at it.

Thank you all for your feedback!


Bonus Learning

SSteve posted this comment on the way that I was normalizing the angle in my original computation.

My approach is “correct” in this case but SSTeve’s is certainly more elegant and concise. I’d never really thought about how the modulus operator would work for negative numbers. But their explanation makes a ton of sense.

Yet more learning!

David Smith


Finding Beauty in Randomness and Nature

Design Notes Diary

For an upcoming feature in Widgetsmith I want to create a number of ‘beautiful’ gradients. These should range over a wide array of colors and ‘feels’.

I am definitely not the best at ‘creating beauty’, but I would say that I have a good sense of ‘recognizing beauty’. Which, when appropriately applied, can be almost as good.

So for these gradients I looked to two sources of inspiration, randomness & nature.

Nature

For nature I specifically was thinking along the lines of the best gradients there are…those in the sky, especially around sunrise and sunset. So set out on an internet treasure hunt, putting together what I believe is called a “Mood Board”. These are images that resonate with the general concept I have in mind but am struggling to generate myself.

In this particular case I got a ton of inspiration from Tiffany Arment’s amazing Instagram feed. Where she regularly posts photographs of the sky on Fire Island.

These types of images I then used as the inspiration for my gradient color palettes.

While I’m sure there is some clever image processing step I could take to ‘extract’ the dominant gradient from them, instead I used Pastel to grab a few pixels from the images and then adjusted them together to create a pleasing gradient curve.

Randomness

The other source of beauty I used started out life as a testing tool that actually ended up being a creation tool too.

As part of this feature I need a way to serialize the gradients into a storable format to save along with their widgets. To test this process I built a tool that would randomly create gradients (often with invalid parameters) and then round-trip them through the save-retrieve cycle to see what happens. This caught a number of bugs in the process.

It also gave me the opportunity to look at many hundreds of ‘random gradients’. So I added in the ability to save any of the testing gradients shown in the app so I could promote them into gradients for Widgetsmith.

This allowed me to react rather than create, which can often be super powerful. I can scan through hundreds of these in a few seconds and some how instinctually know which are ‘good’ and which aren’t.

Result

The result of combining these two approaches are a really nice set of gradients (if I do say so myself ☺️).

Here are a few of them:

Whenever I feel stuck creatively I often turn to sources outside of the direct path of what I’m working on. Rather than trying to force myself to think in RGB…I’m looking for real, beautiful things that I can turn into RGB.

David Smith


Video: Design Process for Fast Map/Metrics Switching

Design Notes Diary

For today’s Design Diary I wanted to try something different. Rather than writing up my thoughts and process, I took the screenshots I’d typically discuss, threw them into a quick Keynote presentation and recorded my thought process as a video.

Please let me know if this is a better medium for this kind of content. I’m still very much learning how I can best communicate these kinds of ideas.

David Smith


Arbitrary SwiftUI Linear Gradient Rotation

Design Notes Diary

Brief Aside. Sorry for the pause in Design Diary entries. In the final push to get Pedometer++ v5 submitted I ran out of time to keep them up. Never fear though I recorded a bunch of topic ideas to write about now that it has been submitted and I’m less pressured again.

As part of an upcoming Widgetsmith feature I wanted to draw linear gradients. I’ve done this countless times using the wonderful LinearGradient fill style. This works great and can easily slot into so many different shapes and situations in SwiftUI.

Whenever I’ve used these before, however, I’ve only ever used the built-in direction values: .top, .topTrailing, .leading, etc. And if I’m being honest, those were the only options I thought we had.

For this particular feature I really wanted to be able to draw gradients at arbitrary angles rather than just horizontal, vertical and oblique. I started digging around a bit and to my delight discovered that this is actually already built into LinearGradient.

LinearGradient takes as its direction control an argument of type UnitPoint. Typically you interact with these using the built-in options but it turns out that this is just a normalized X/Y pair under the hood. So if I could workout the appropriate X/Y value I could draw my gradients at any angle.

Now the trick was working out how to calculate these pairs. I started out trying to do this with math(😱) and was quickly frustrated. I’m sure there is a clever, algebraic solution for this but I couldn’t find it after a bit of looking.

Then I realized that I could actually just simplify this whole thing since I only cared about one variable at a time (for example the Y-value on the left edge, and the X-Value on the bottom edge).

So I just took each edge in turn and calculated the relative proportion of the edge that it would have covered at a given angle. I just do this with a basic linear proportion calculation.

This works great and lets me draw gradients at any angle. If you’d like to see the code or use it yourself.

Here it is on GitHub.


Correction:

Rob Mayoff and robb pointed out to me that my method isn’t quite right. Because I’m doing a linear interpolation rather than a trigonometric one my rotations are slightly off from the actual angle. In this case the difference is tiny and visually very hard to differentiate but still, it isn’t quite right.

Here is the animation Rob made to illustrate this error:

Rob and robb were kind enough to post their alternative solutions which correctly adjust for this.

David Smith